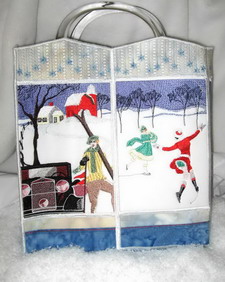
Winter Wonderland Bag Instructions
|
Notions
|
|
| |
|
|
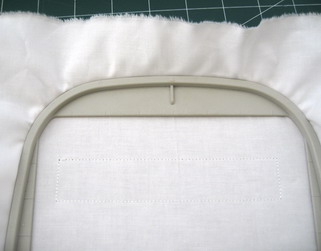
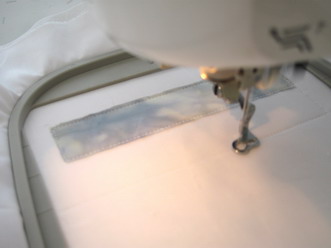
Instructions for your stabilizers Hoop your white fabric with 1 sheet of “Cut Away” Once you have your hoop in the machine then slide under “Stitch N shape” Start stitching |
|
| |
|
|
Below are the Instructions for
|
|
| |
|
 |
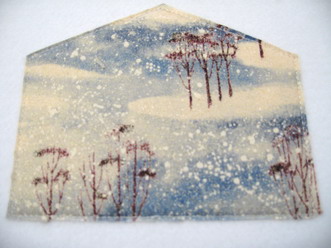
Stitch out 1st Winter Scene (These following instructions apply to all the Winter panel scenes) Take the hoop out of your machine (Do not take the winter scene out of the hoop) turn the hoop over so that the back of the Winter scene is facing you. |
| |
|
 |
Cut a piece of the backing fabric larger than the 1st winter scene. |
| |
|
 |
Put the piece of backing fabric you just cut out over the back of thewinter scene. Not forgetting to have the right side of your backing fabric facing you. |
| |
|
 |
|
| |
|
 |
Take the sticky tape away.
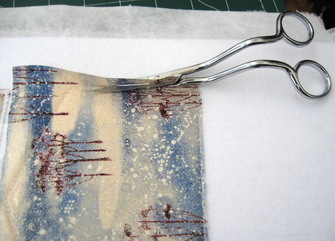
Cut away the backing fabric keeping the winter scene in the hoop at all times. |
| |
|
 |
Backing fabric cut. |
| |
|
 |
|
| |
|
 |
Satin stitch border from the back |
| |
|
|
The Following Instructions are for
|
|
| |
|
 |
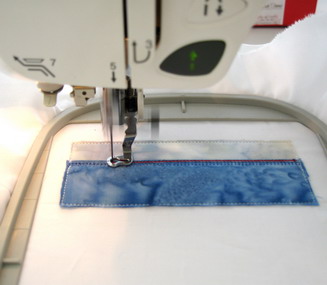
Stitch out colour No. 1. |
| |
|
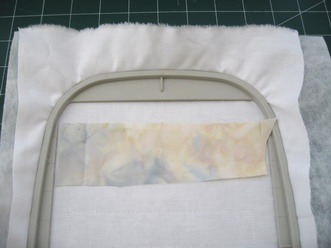 |
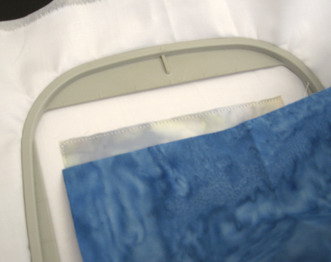
Take the hoop out of your machine (Do not take the fabric out of your hoop) Lay a piece of fabric of your choice over Colour No. 1. |
| |
|
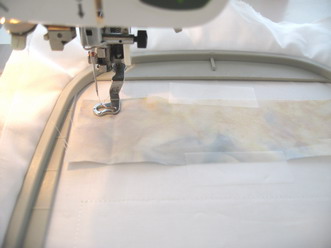 |
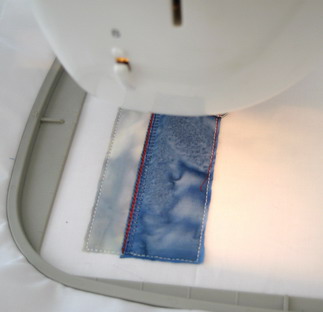
Sticky tape the fabric down, this helps keep the fabric in place Put the hoop back into the machine Stitch colour No. 2. |
| |
|
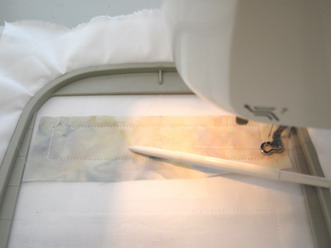 |
Stitch colour No. 2 Take the hoop out of the machine Cut the fabric Put the hoop back in the machine. |
| |
|
 |
Stitch Colour No. 3. |
| |
|
 |
|
| |
|
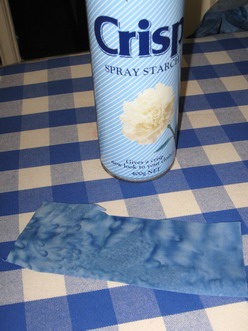 |
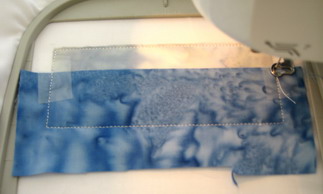
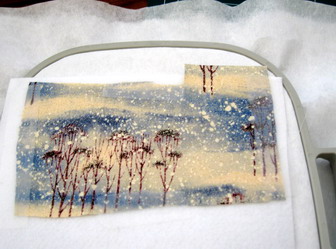
Spray starch the fabric. |
| |
|
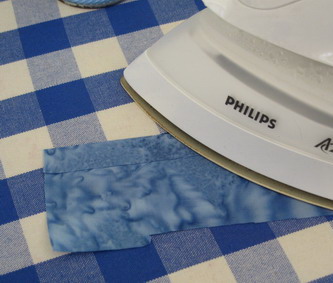 |
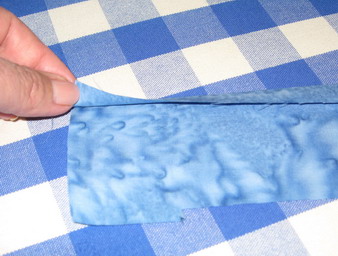
Fold the top of the fabric. I would make it a deep hem. Press a nice crisp edge. |
| |
|
 |
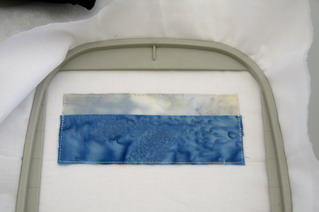
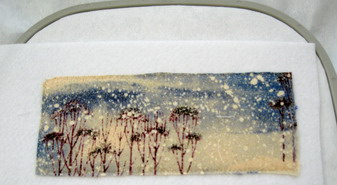
Crisp edge. |
| |
|
 |
|
| |
|
 |
|
| |
|
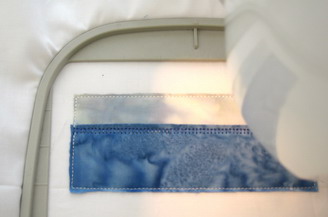 |
Select a coloured thread of your chose. Stitch out No. 5. |
| |
|
 |
I chose a red coloured thread for Stitch No. 6 as this would bring the two different coloured fabrics together. I had the thread colour “red” in most of the Winter Scene panels. |
| |
|
 |
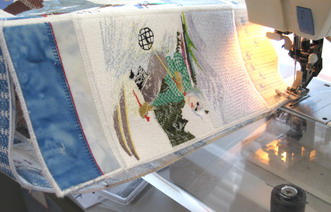
Showing you the red stitch No. 6 stitched out, which makes the two fabrics come together. |
| |
|
 |
|
| |
|
 |
|
| |
|
|
Instructions for putting all the panels together |
|
 |
|
| |
|
 |
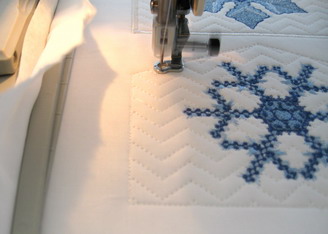
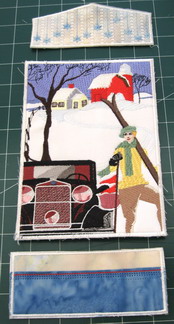
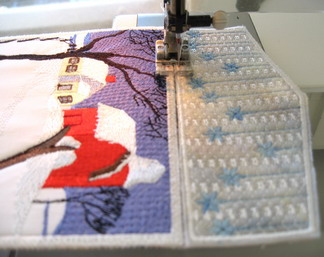
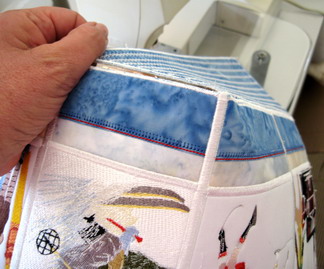
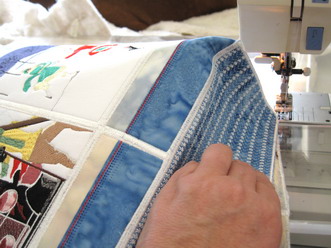
Stitch Border “Under_01” to “1st Winter Scene” using a zigzag stitch. |
| |
|
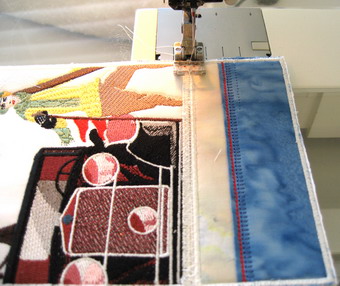 |
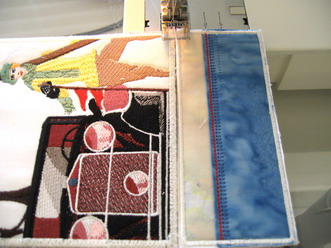
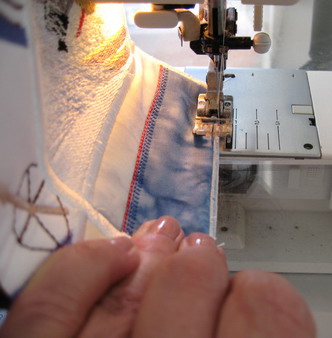
In the photo you may be able to see I have stitched a zigzag then I am about to change my settings to a satin stitch. Stitch the satin stitch over the zigzag stitch. This will be your finished look, make your finished satin stitch the width and length that best suit you as you will use the same dimensions you just used for your satin stitch for the rest of the bag. HINT Start your satin stitch away from the edge satin stitch for a little way and then hit your “Reverse Button” on your machine and go back to the beginning, that way you will get a smother finish. |
| |
|
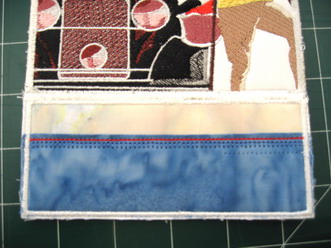 |
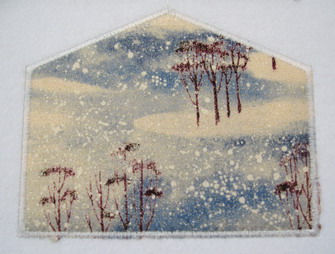
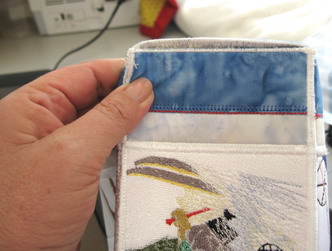
Showing you the satin stitch finish. |
| |
|
 |
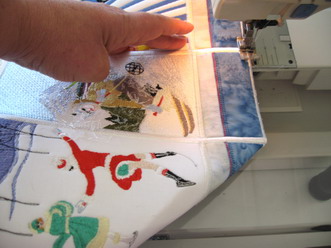
Stitch using your zigzag stitch “Bag Top_01” to “Winter Scene_01” then over the zigzag stitch, stitch the satin stitch. |
| |
|
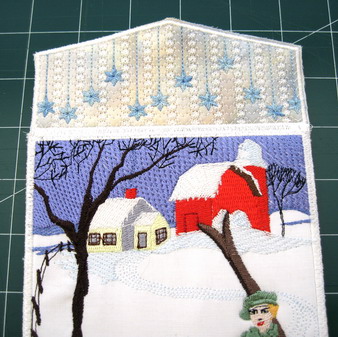 |
Satin Stitched over the zigzag stitch. |
| |
|
 |
|
| |
|
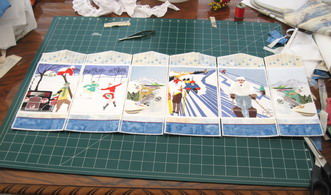 |
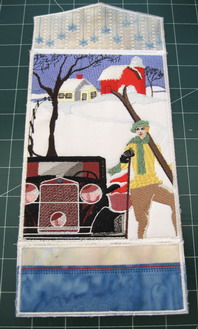
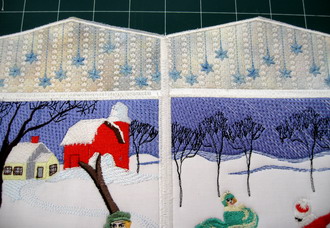
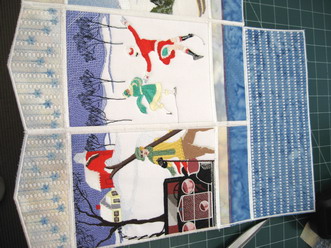
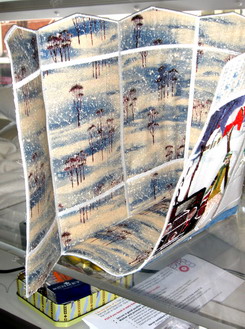
This is the way I laid all the designs out, so there would not be any confusion while stitching the bag together.
You will notice that
|
| |
|
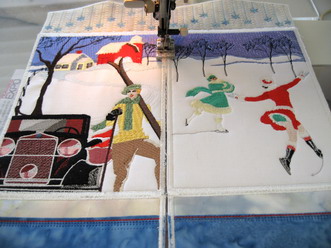 |
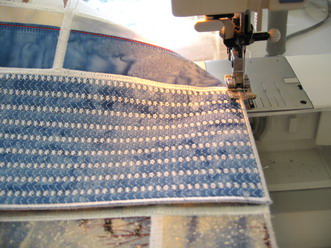
Zigzagged both “1st Winter Scene” and “2nd Winter Scene” together. |
| |
|
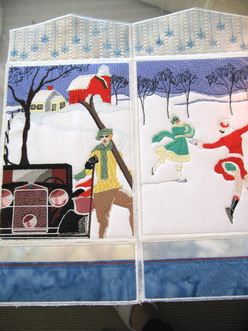 |
Satin stitched both “1st Winter Scene” and “2nd Winter Scene” together. |
| |
|
 |
Close up of finished satin stitch. |
| |
|
 |
This is the base of the bag I had a large enough hoop to be able to stitch the base in one go “Bag Under_03” If you do not have a large enough hoop I have designed the base so you can stitch
Join these two together |
| |
|
 |
Zigzag the base to “1st Winter Scene” and “2nd Winter Scene” |
 |
Join the short end of the base to “5th Winter Scene” |
 |
Stitching the short end of the base to “5th Winter Scene” |
| |
|
 |
Stitching the other side of the base to “5th Winter Scene” |
| |
|
 |
Stitching the base to “3rd Winter Scene” and “4th Winter Scene” |
| |
|
 |
Bending and pushing to get “6th Winter Scene” stitched to the base. This takes a bit of tugging and pulling to get the sides together correctly. |
| |
|
 |
Stitching the “6th Winter Scene” to “1st Winter Scene” |
| |
|
 |
Showing you from another angle the stitching “6th Winter Scene” to “1st Winter Scene” |
 |
Joining “6th Winter Scene” to the base. |
 |
Stitching “6th Winter Scene” to the base. |