 |
|||||||||||||||
| Print each of the Crusades designs. I used the Buzz Tools™ program. Select the "Actual Size" I used the Buzz Tools™ program. Select the "Actual Size" setting under the "Printing" setting in your digitizing software. Using a ruler, mark the centre of each printed design. Designs printed using Buzz Tools™ have four points which may be used to assist in locating the centre of each design. | |||||||||||||||
| |
|||||||||||||||
| Mark the centre of each of the 10 designs. | |||||||||||||||
| |
|||||||||||||||
|
|
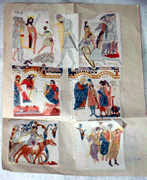
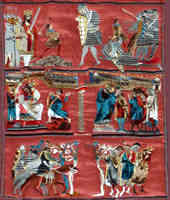
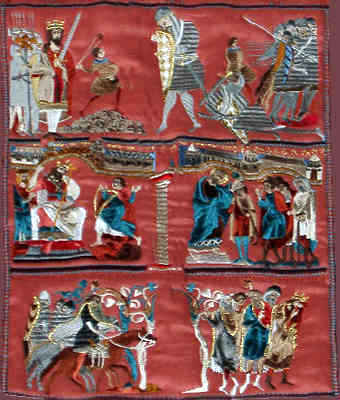
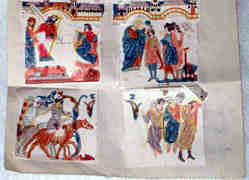
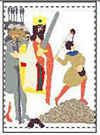
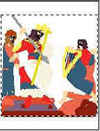
Arrange each of the designs on the large piece of paper, as shown to the right, or as you would prefer. Always remember that the positioning of the designs is most important, as the final effects and the quality of the finished designs. This method provides some spatial orientation and thus, the sense and dimension of depth to the scene. |
||||||||||||||
| |
|||||||||||||||
|
|
Attatch each of the designs onto the large piece of backing paper. I use and recommend sticky tape, because any or all of the designs can be moved or repositioned easily on the large backing paper if you are not satisfied with their original placement. | ||||||||||||||
| |
|||||||||||||||
 |
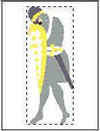
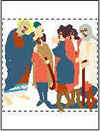
When you are satisfied with the positioning of all the designs on the large sheet of paper, lay it on top of the fabric, face upwards, as shown to the left | ||||||||||||||
| |
|||||||||||||||
| Locate the marked centre of each printed design. Select the first design. Insert a pin where you have marked the centre. Hold the pin firmly and lift the sheet with the printed design. Carefully mark the centre point on the fabric with either chalk or soft pencil. Repeat this process, marking the centre of all the printed designs on the fabric. | |||||||||||||||
| |
|||||||||||||||
| Pin the pellum and the tear away backing to the fabric. | |||||||||||||||
| |
|||||||||||||||
 |
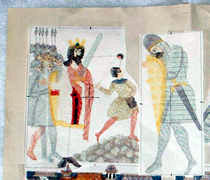
Commence stitching the designs on the fabric, using the marked centre points on the fabric as your references. Start with the "04" and "05" designs. Follow these designs with the sequence of designs which you have selected. Ensure that you stitch the overlayed designs first, followed by those designs which overlay them. | ||||||||||||||
| |
|||||||||||||||
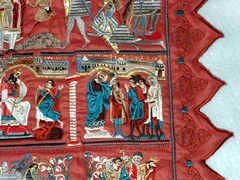 |
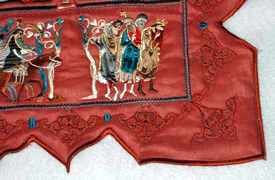
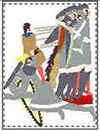
Use a couple of simple machine embroidery stitches from your machine to create the dividing lines between the panels, as shown in the photo to the right. | ||||||||||||||
| |
|||||||||||||||
 |
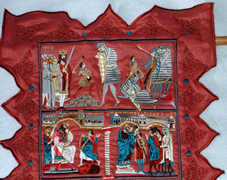
Stitch the border around all the designs using the same two machine embroidery stitches from your machine as were used for the dividing lines in step 10, | ||||||||||||||
| |
|||||||||||||||
|
|
Cut Away Border on Wall Hanging. a) Use the design surrounding the wall hanging as a guide for marking the fabric. b) Sew a small zig zag stitch over your mark. c) Cut the surplus fabric from around the zig zag stitch. d) Sew along the edge using a close zig zag stitch. Ensure that you do not make it a satin stitch. e) Repeat sewing around the zig zag edge, however, this time ensure that you use a satin stitch. |
||||||||||||||
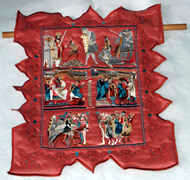
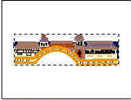
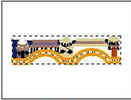
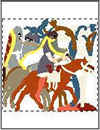
| My Layout of the Crusade Wall Hanging | |||||||||||||||
 |
|||||||||||||||
|
|||||||||||||||


Machine Embroidery Designs
Latest Releases
Folklore Machine Embroidery Designs
Released on the 25th June 2019
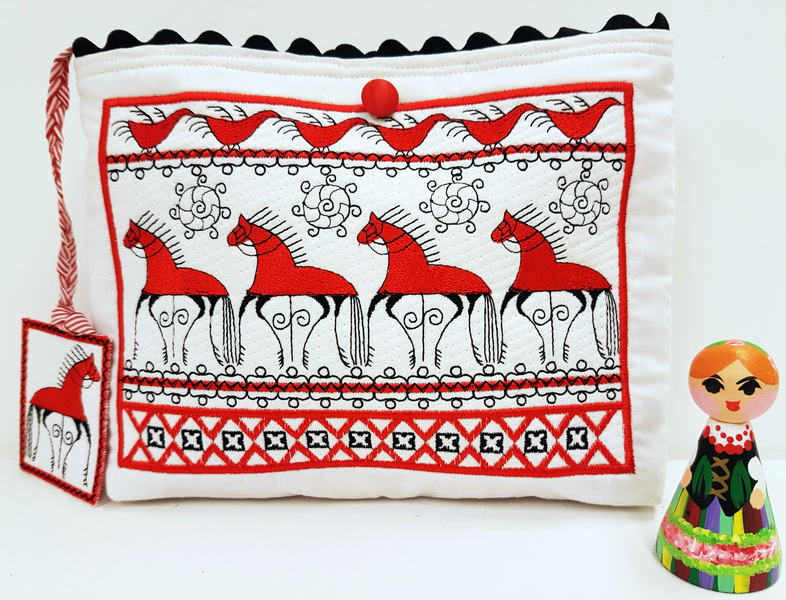
6 designs included in the Folklore machine embroidery design set.
The Folklore design is suitable for a 6 x 10 inch or 240mm x 150mm hoop.
The Folklore design is available in DST, EMB, EXP, HUS, JEF, PES, VIP, VP3 and XXX.
The colour chart is included in the design set
As I am now digitizing with Wilcom embroidery software (which is a commercial software) we are unable to convert files to ART format. Bernina embroidery machines will now need to purchase designs in EMB or EXP format. Sorry for the inconvenience.