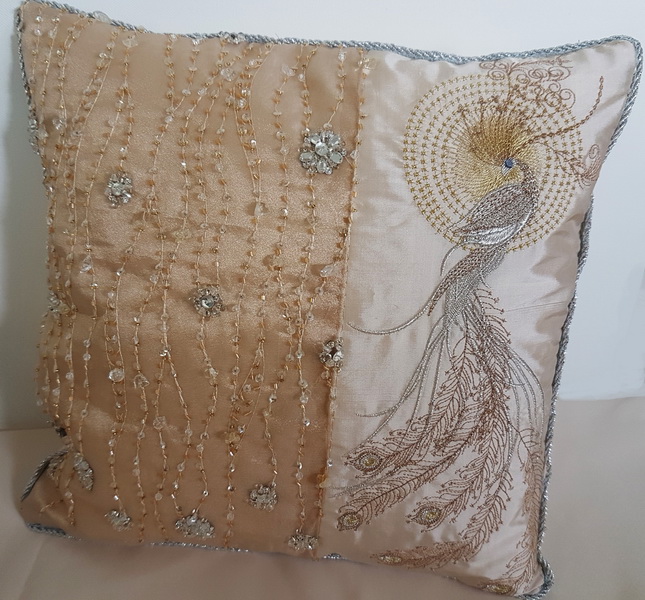
Fancy Flowers - Machine Embroidery Design Instructions
 |
|
Stitch fancy out 8 times |
| |
|
Stitch fancy_flowers out once |
| |
|
Sew all 9 designs together just like you would for a patchwork quilt |
| |
|
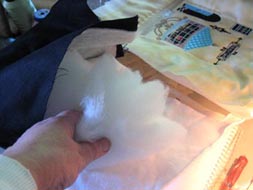
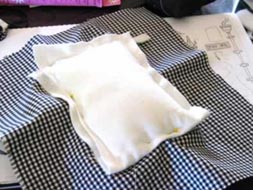
I purchased this beautiful fine linen from Rachel. The linen comes in many colours. It is lovely to stitch on as it is not to stiff. Some linens tend to be. http://www.stirlingembroidery.com |
| |
|
Stitch the rope edging to the cushion before you put the cushion together. |
| |
|
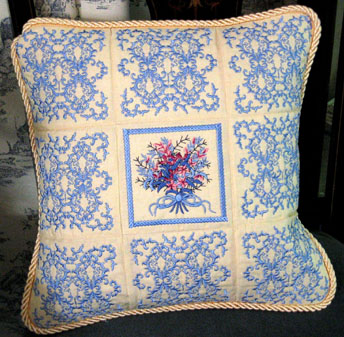
I made the covered buttons using the design button flowers, changing the background colour to the same blue as used on the front of the cushion. This gives the cushion a nice finish....Only if you centre the back correctly, guess who did not :)) as you can see in the photo, I forgot and the back is off centre. Please do not make the same mistake |
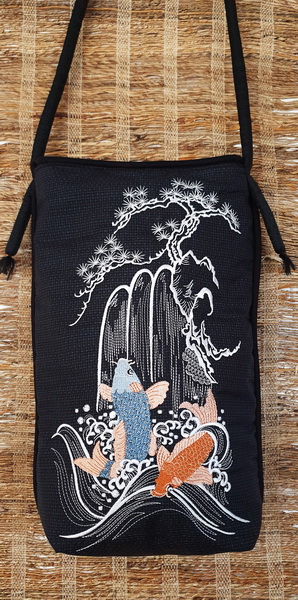
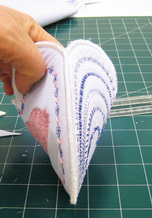
Gift of Love - Machine Embroidery Design Instructions
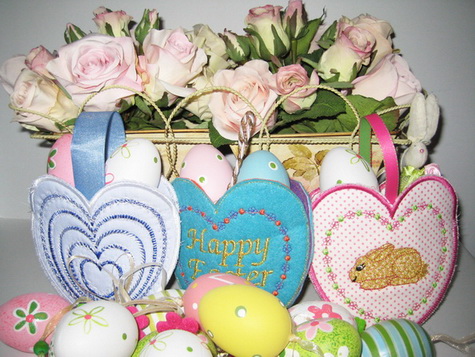
Stitch both the front and back
Cut very carefully the fabric away from the satin stitch
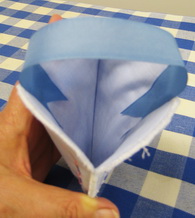
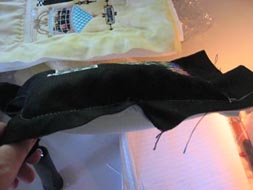
Mark with your ruler using your marker pen or chalk where you would like the stitching to finish the join for the front and back of bag
If you are making felt bags follow what I have done instead of doing the satin stitch you use the straight stitch designs, the instructions for doing that project is in the colour chart
Zigzag both the front and bag over the satin stitch
With either your hot glue gun or with whatever you prefer glue a pretty ribbon inside the bag to use as a handle.
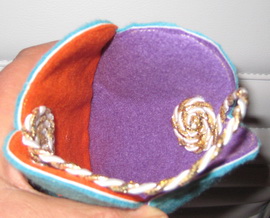
The inside of the little bag as you can see I used two different colours of felt, just makes the bag more interesting for the little ones, I then used cording and made it a little more interesting by making the coring go around and around gluing as I did it
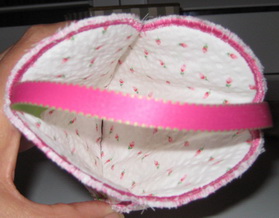
For the lining I used a contrasting fabric, this makes the little bag even more prettier
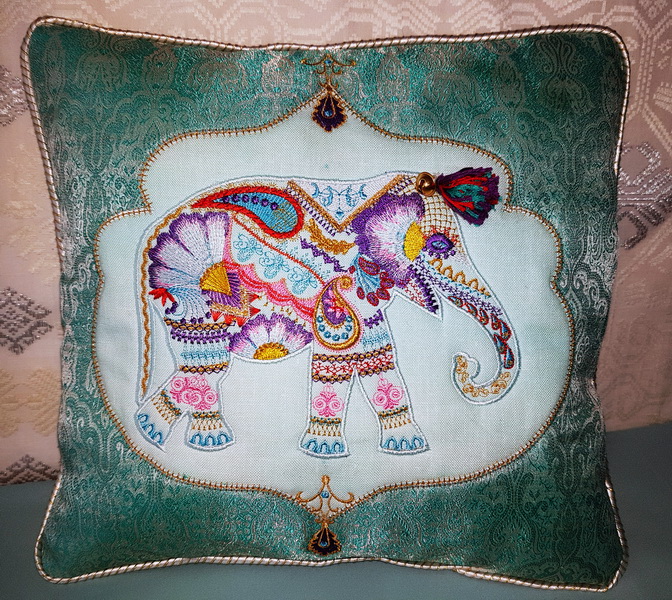
Charlotte - Machine Embroidery Design Instructions
|
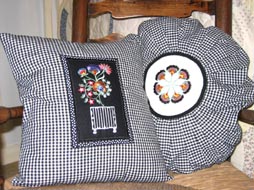
Black and White Gingham Cushion
|
|
 |
The black and white gingham rectangle cushion I made the centre panel puffy by adding wadding. Have a larger piece of fabric than the black fabric to sandwich the two fabrics together |
| |
|
 |
Once you have the amount of wadding to give the puffy look, pin the black fabric and backing fabric together with the wadding sandwiched between the two |
| |
|
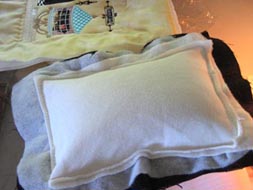 |
Photograph of the wadding sandwiched together |
| |
|
 |
Stitch all around the centre panel using your machine with a straight stitch |
| |
|
 |
Photograph of the front puffy centre panel |
| |
|
 |
Cut from the centre of the black and white gingham a rectangle. Pin the puffy centre panel onto the black and white gingham as shown in the photograph |
| |
|
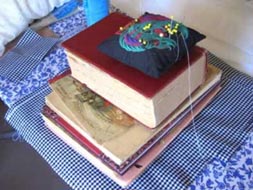 |
I left over night a number of books on top of the puffy centre. Do not worry it will be still puffy but not over the top |
| |
|
 |
Stitch the puffy centre piece using your straight stitch. Stitch over the straight with a zigzag stitch and then stitch over the zigzag stitch using a satin stitch |
| |
|
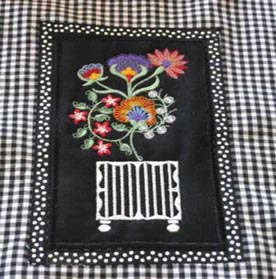 |
In the enlarged photograph you will see where I have used the satin stitch and then stitched on the black and white poker dot ribbon |
| |
|
 |
This is a scan of the actual drawing I did. As you can see it is a very rough drawing for the Charlotte design |
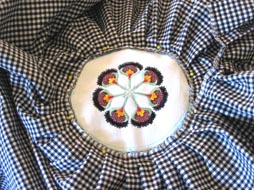
| Black and White Gingham Round Cushion | |
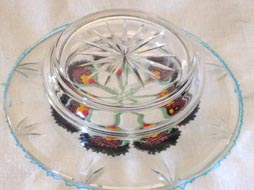 |
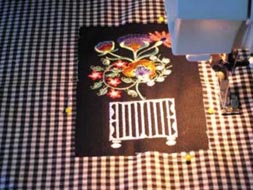
Stitch the design out on a nice linen. Using a saucer or something that is slightly larger than the design. |
| |
|
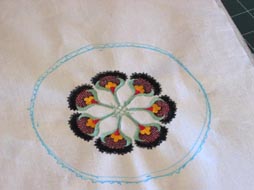 |
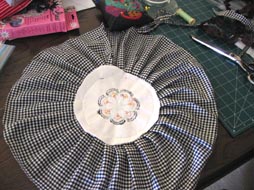
Mark either using a blue pen or chalk. This will be where you will tack the the black and white gingham down |
| |
|
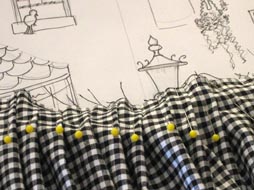 |
By using the gingham I was able to make evan pleats by pinning |
| |
|
 |
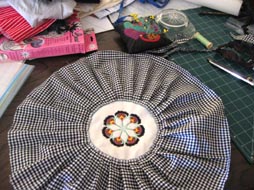
Stitched over the pleats I had made using the pins with a straight stitch |
| |
|
 |
Using the blue pen marking I was able to make a nice circle surrounding the design |
| |
|
 |
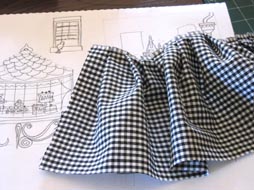
Stitched down the pleated section over the white linen. This is back of the design |
| |
|
 |
I added a panel for the sides once again using the black and white gingham |
| |
|
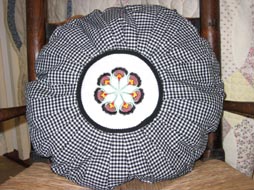 |
To hide the pleating I stitched on a simple black braid |
Maidens Machine Embroidery Design Instructions
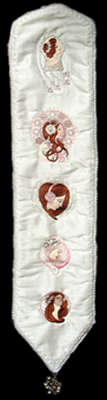
| Maidens Wall Hanging | |
 |
|
 |
The Maidens Wall Hanging shown here was constructed of beautiful, white silk. |
| |
|
 |
I enhanced the wall hanging with a decorative edge of little white pearls. |
| |
|
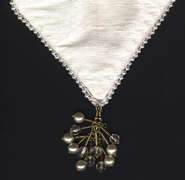 |
Several years ago, large earrings were very fashionable. I bought many sets very cheaply when they were just out of fashion. I believed that one day they would come in handy for my craft projects. If you look closely at the bottom of the wall hanging you can see where I attached the earrings. They are great to use instead of a tassel. The earrings were made of glass and pearl drops. A photo of the earrings is shown to the left. |
| Maidens Shirt | |
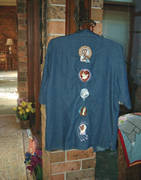 |
I purchased this jean shirt last summer with the Maidens Series of designs in mind. I thought that this shirt would be ideal to display them. |
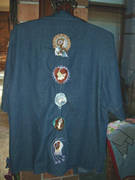 |
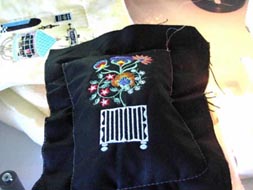
I decorated the back of the shirt with five of the designs, arranged vertically. |
| |
|
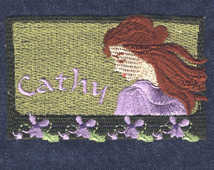 |
I then decorated the front of the shirt with my "thought" design. I then embroidered my name, Cathy within the design. I used the alphabet from my machine for my name. This design would make an attractive name tag or a tag for quilts. The tag would be ideal for displaying all your important information. |
Machine Embroidery Designs
Latest Releases
Folklore Machine Embroidery Designs
Released on the 25th June 2019
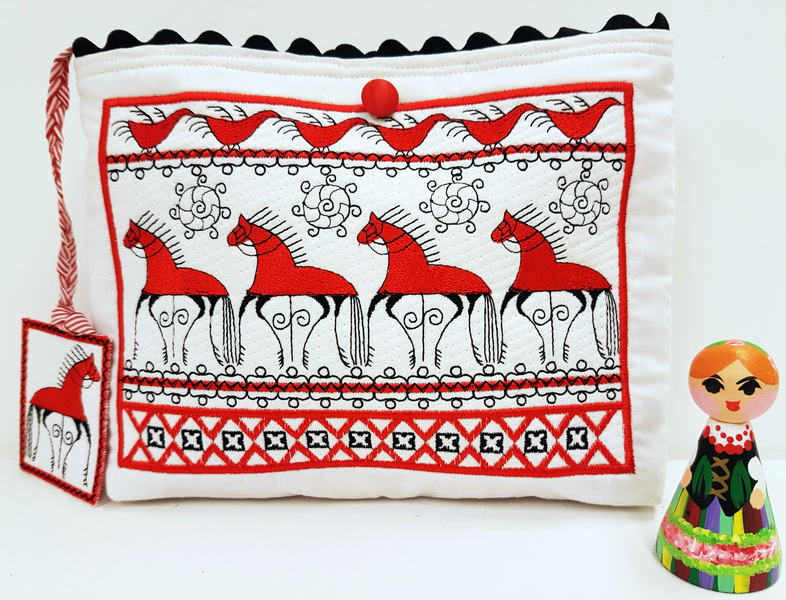
6 designs included in the Folklore machine embroidery design set.
The Folklore design is suitable for a 6 x 10 inch or 240mm x 150mm hoop.
The Folklore design is available in DST, EMB, EXP, HUS, JEF, PES, VIP, VP3 and XXX.
The colour chart is included in the design set
As I am now digitizing with Wilcom embroidery software (which is a commercial software) we are unable to convert files to ART format. Bernina embroidery machines will now need to purchase designs in EMB or EXP format. Sorry for the inconvenience.