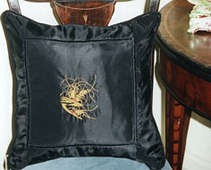
| Instructions for Cream Silk Pillow |
 |
|
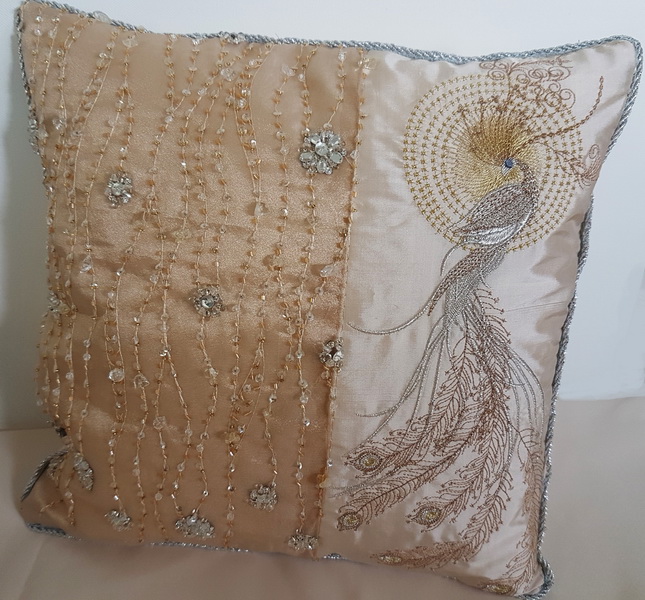
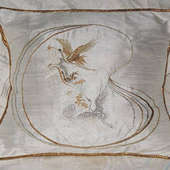
Two Exotic designs, exotic01 and exotic03 were combined and the result is shown below |
|
|
| Stitch out the exotic01 design. |
| |
| Remove hoop and reposition it below and slightly to the right hand side of the exotic01 design. |
| |
| Stitch out the exotice03 design in the selected position. |
| |
| The two designs look better when combined if you do not have them positioned directly under one another. |
| |
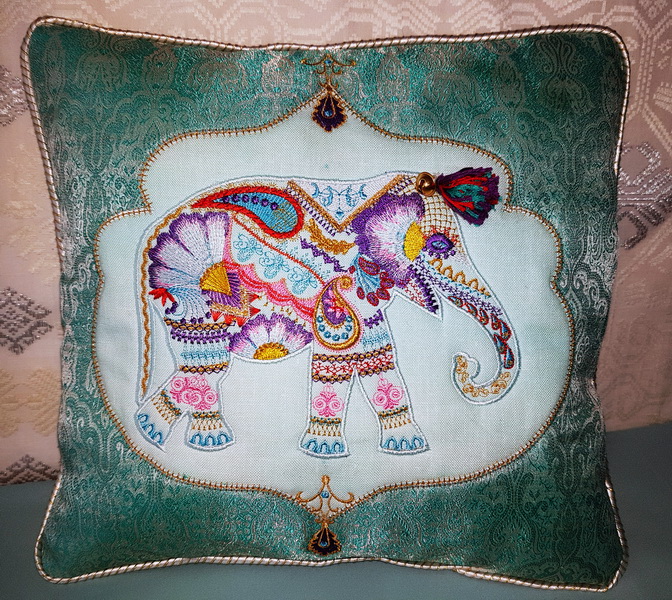
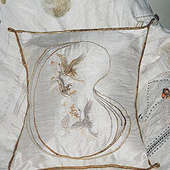
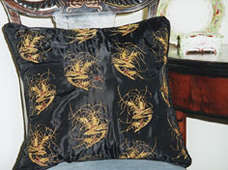
| Instructions for Ivory Silk Pillow -
Combining exotic01 and exotic03 Designs |
|
|
|
Two Exotic designs, exotic01 and exotic03 were combined and the result is shown below |
| |
| Stitch out the exotic01 design. |
| |
| Remove hoop and reposition it below and slightly to the right hand side of the exotic01 design. |
| |
| Stitch out the exotice03 design in the selected position. |
|
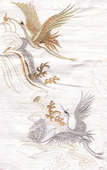
Water Design Instructions |
| The water design was originally created to decorate a lovely, co-ordinated set of pillows. After having created the design, I began to realise that it had great possibilities in decorating clothes and matching accessories. It could also be used as a striking decoration for an interesting wall hanging. |
| |
| The photo below is of my wall hanging, which I framed. |
| |
|
The two photographs shown below to the right show my water pillow set. |
| |
|
The water design was positioned centrally and sewn once on the first pillow to create an attractive monogram. It is shown below. |
| |
|
The water design was used repeatedly on the pillow shown below, to the right to create an appealing all over pattern. |
|
|
|
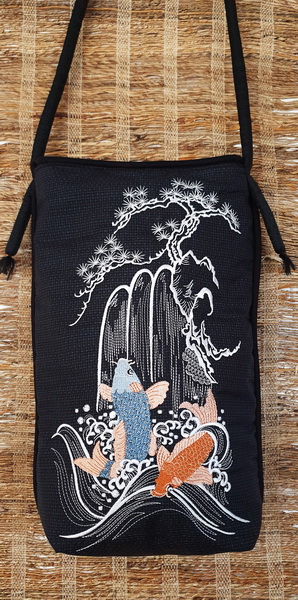
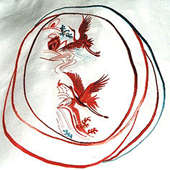
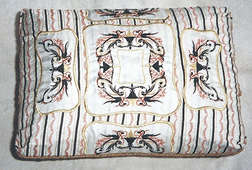
Instructions for Black Swan Stool Cover |
|
Two Exotic designs, blswan02 and blswan07 were combined and the result is shown below. |
|
|
| Locate and mark the centre of the fabric. It is important to commence sewing in the middle of the fabric, as any errors made while sewing the parallel lines will not be as obvious as if you started at one end of the fabric and stitched to the other. |
| |
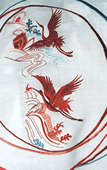
| Sew continuous lines using stitch No. 02 L=0.30 W=3.0 at 3/4inch or 2cm apart in black Madeira thread |
| |
| Sew continuous lines using stitch No. 126 L=16 W=6.0 in the centre, between each black satin stitch in tan Madeira thread. |
| |
| On either side of the feathered leaf, sew stitch No. 01 (triple straight stitch) L=3.0 in gold Madeira thread. |
| |
| Stitch the blswan02 design on a separate piece of white silk fabric. |
| |
| Locate the centre of your stool cover. |
| |
| Centre the blswan02 design on your cover, then appliqué using satin stitch No. 02 L=.30 W=4.0 |
| |
| Stitch the blswan07 design on four separate pieces of white silk fabric. |
| |
| Position the four blswan07 patterns, as shown in the photographs, below |
| |
|
Sew the four appliqué using satin stitch No. 02 L=.30 W=4.0. |

Machine Embroidery Designs
Latest Releases
Folklore Machine Embroidery Designs
Released on the 25th June 2019
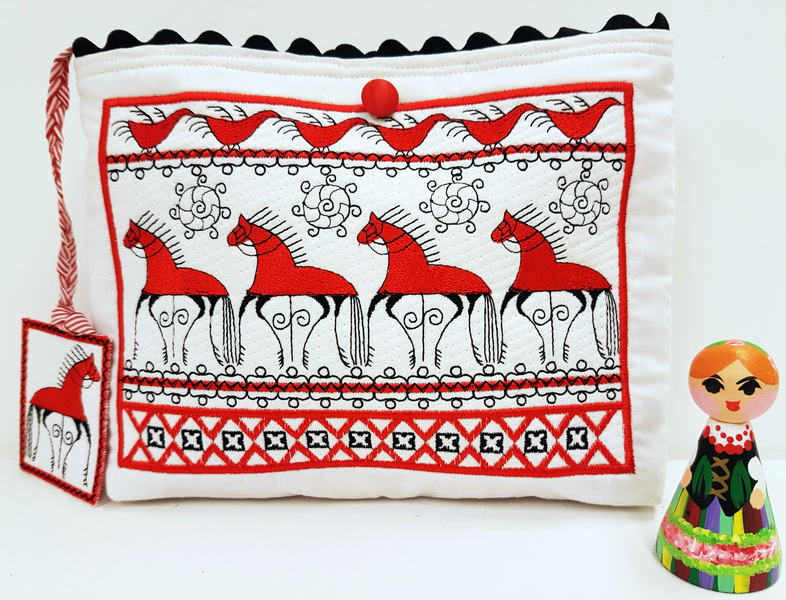
6 designs included in the Folklore machine embroidery design set.
The Folklore design is suitable for a 6 x 10 inch or 240mm x 150mm hoop.
The Folklore design is available in DST, EMB, EXP, HUS, JEF, PES, VIP, VP3 and XXX.
The colour chart is included in the design set
As I am now digitizing with Wilcom embroidery software (which is a commercial software) we are unable to convert files to ART format. Bernina embroidery machines will now need to purchase designs in EMB or EXP format. Sorry for the inconvenience.