


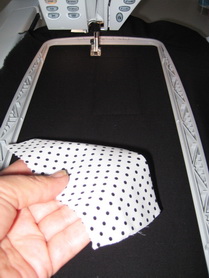
- Hooped the cotton fabric with the pellon
- Once I attached the hoop to my machine I slid under the hoop the felt carpet type fabric
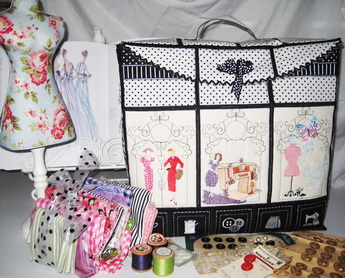
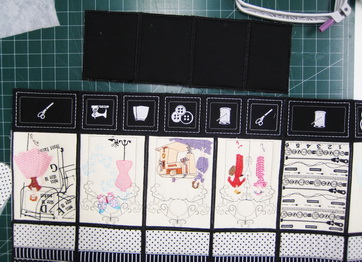
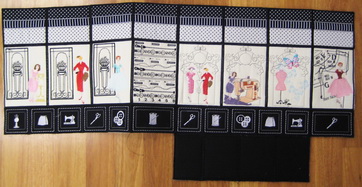
- Stitch out 10 of “Accessories” designs
- Side bot panel_01
- Side bot panel_02
- Sewing_01
- Sewing_02
- Sewing_03
- Sewing_04
- Sewing_05
- Gate_05
- Gate_06
- “Gate_08” or “Gate_07” I leave that up to you to make the decision
- Stitch out “base panel_01” three times
- Stitch out “base panel_02” once
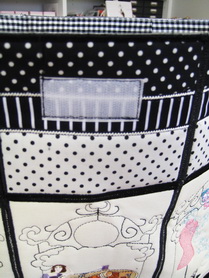
- Stitch out “Top App” 8 times (This design is for those who would like to applique the fabric as I did in the photos) I also digitized “Top_01” for those who would like a plain top but would like a stitch to break up the plain fabric. “Top_02” is for those who do not want any work on the top section.
Stitch out:
- Flap_01
- Flap_02
- Flap_03
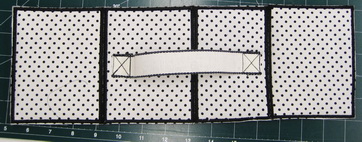
- Stitch out “Top lid panel_01” three times
- Stitch out “Top lid panel_02” once
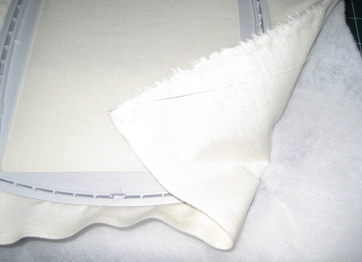
Hoop the top fabric and medium thick pellon. I used a good quality cream fabric for the eight panels.
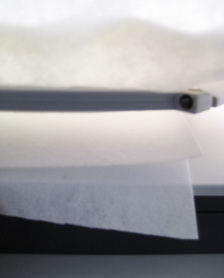
Put the hoop into your machine and then slide under two sheets of heavy weight “cut away” stabilizer.
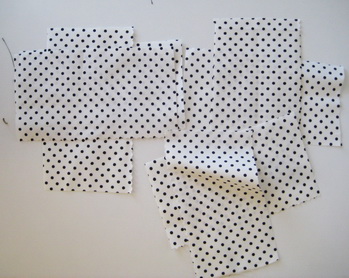
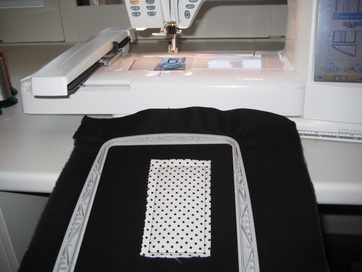
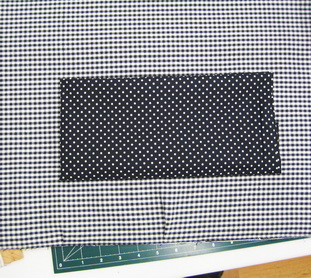
To make the top applique panels cut out eight pieces of fabric.
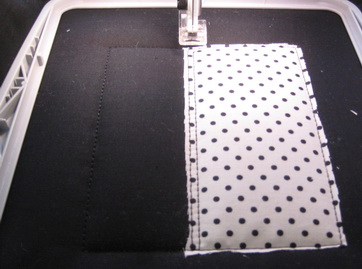
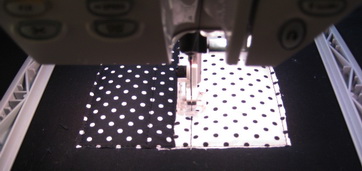
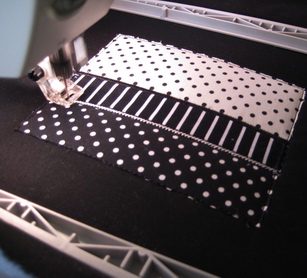
Stitch out the first colour thread.
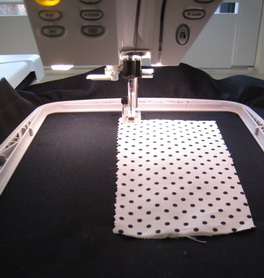
Lay the spotted fabric over the top of the first thread colour stitches you just stitched out.
Stitch the second thread colour out.
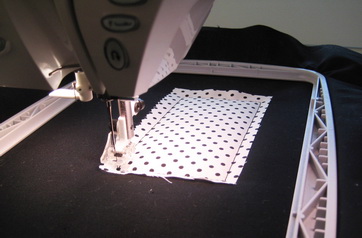
Take the hoop out of your machine.
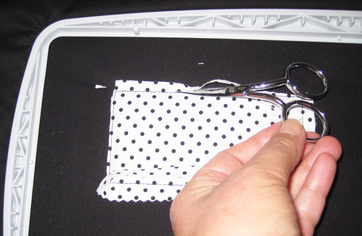
Cut away any excess fabric from the straight stitches.
All excess fabric cut away from the straight stitches.
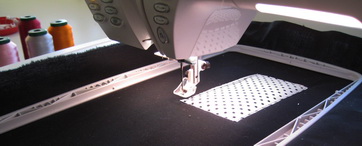
Put your hoop back into the machine and stitch the third colour out.
Cut out 8 pieces of contrasting fabric.
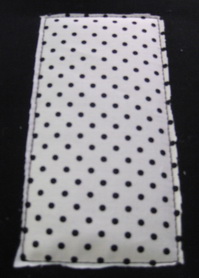
Third colour stitched out.
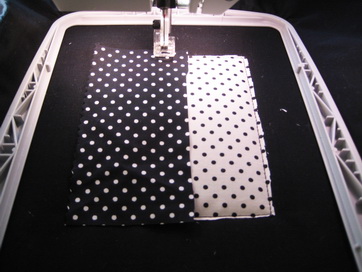
Contrasting fabric placed over the third stitch out.
Stitch out the fourth colour.
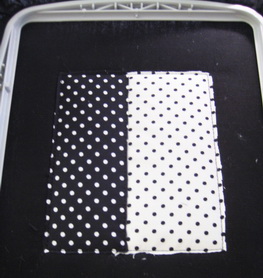
Take your hoop out of the machine and cut away all excess fabric from the straight stitch. Insert your hoop back into your machine.
Stitch out the fifth colour.
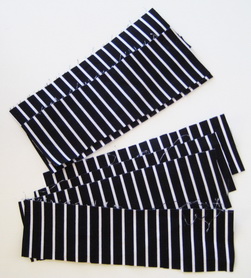
Cut out eight pieces of contrasting fabrics.
Lay the fabric over the straight stitches you just stitched out.
Stitch out colour No. 6 over the fabric.
Take your hoop out of the machine and cut away excess fabric, put the hoop back into your machine.
Stitch out colour No. 6 over the fabric.
Take your hoop out of the machine and cut away excess fabric, put the hoop back into your machine.
You should start putting the bag together now that you have stitched all the designs out to make the bag.
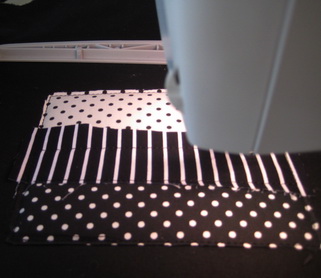
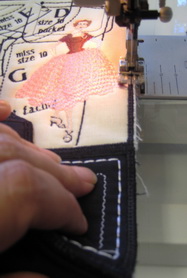
I started off by zigzag stitching “Sewing_01” and “Sewing_02” together. I used a zigzag stitch that height and width were some distance apart, (I did this with all the panels). If the panel should move slightly and you have one panel slightly longer than the other you can easily cut those stitches away and start again.
Once you are satisfied with the zigzag stitch I then went over the last zigzag stitches with the zigzag closer together but not making a satin stitch
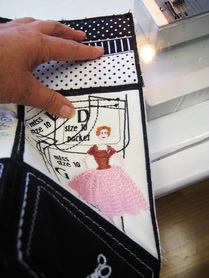
Zigzag stitch “Top app” over the “Sewing_01” and “Sewing_02” .

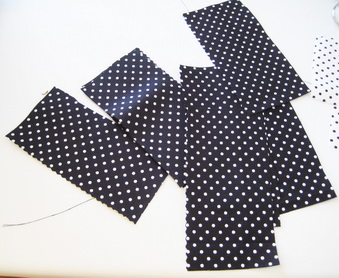
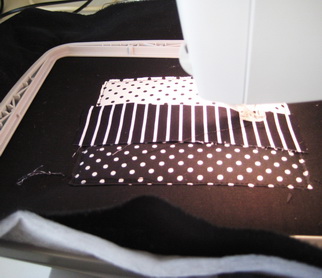
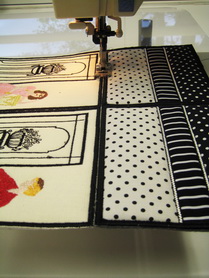
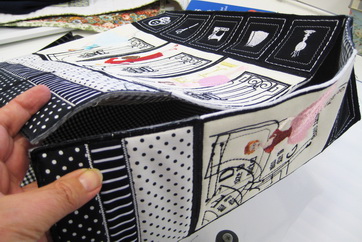
After I zigzagged all the front and “app” panels together I then stitched 10 of the “Accessories panels” including the “side bot panels” together. As you can see in the photo above.
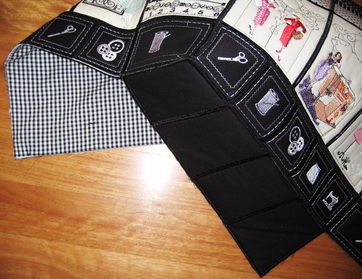
Once all the panels were stitched together I cut out a matching fabric for the lining and also for pockets, stitch the lining onto all the panels.
Lining stitched to the bag.
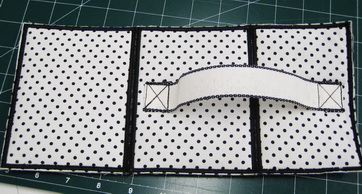
Stitch two “Top lid panel_01 together then stitch “Top lid panel_02” this is where I put a handle onto the two panels.
Stitch “Top lid panel_01” onto the end.
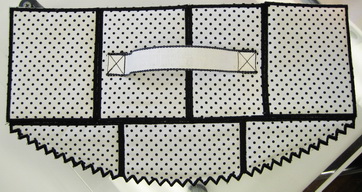
Stitch “Flap_01” to “Flap_02” then zigzag stitch “Flap_03”.
Stitch using zigzag stitch to the top panels.
Zigzag stitch three “Base panel_01” together then stitch one of “Base panel_02” to the others.
All four base panels stitched to the “Accessories panels”.
Stitch the base panel to the side panel.
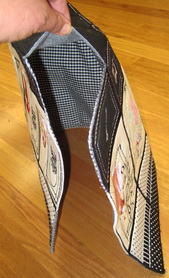
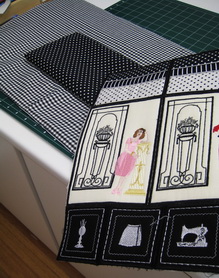
Showing you how it was all put together.
Zigzag stitch the other side panels of the bag to the base panels.
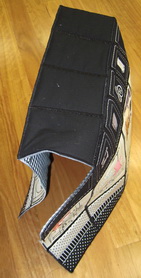
Zigzag stitch the remaining side to finish this section.
Stitching the last panel of the bag together.
I velcro but would never recommend it. I would use proper bag fastener.
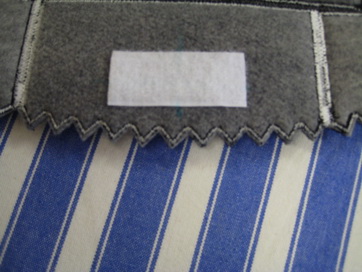
Attaching the velcro to the lid.