Instructions for the Wall Flowers Wall Hanging

Notions
- 1 x 1 meter or 3.5 x 3.5 feet of white cotton backing fabric
- 4 meters or 5 yards approx of white cotton backing fabric for doing the patches, I always allow for more fabric than is necessary just in case of mistakes
- Artist Canvas board 61 x 92 cm or 24 x 36 inches
- Thick wadding to cover the Artist canvas board
- 4 meters or 5 yards approx of thin wadding
- 4 meters or 5 yards of medium weight tear away
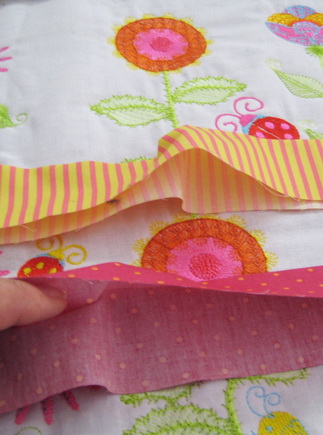
- Striped and dotted fabric just a small length
Stitch out the Following designs
- Bright Flowers_01
- Bright Flowers_02
- Bright Flowers_03
- Bright Flowers_04
- Bright Flowers_05
- Bright Flowers_06
- Bright Flowers_07
- Bright Flowers_08
- Bright Flowers_10
- 4 x Bright Flowers_15
- 4 x Bright Flowers_14
- 5 x Bright Flowers_11
- 3 x Bright Flowers_13
- 4 x Bright Flowers_12
With the 1 x 1 meter or 3.5 x 3.5 feet of white cotton backing fabric mark the centre
Print out in “Actual size” “Bright Flowers_01” and “Bright Flowers_02”
Mark the centre of your “Actual size” print out
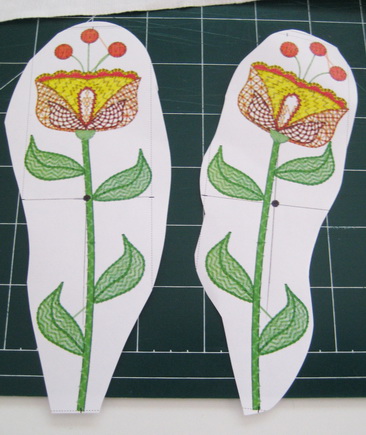
Cut around the design
• Place on the centre of the fabric “Bright Flowers_01” and “Bright Flowers_02”
• I first of all place “Bright Flowers_02” first then place “Bright Flowers_01” under just slightly “Bright Flowers_02”
• Place a pin through the centre of the print outs as to where you would like the flowers to be on the fabric and mark the fabric with either chalk or fabric marker pen
- Place the hoop which is a 5 x 7 inch or 180 x 130 as close to the centre that you have marked
- Stitch out “Flower_01”
• Place the hoop as close to the centre as you can to stitch out “Bright Flower_02”
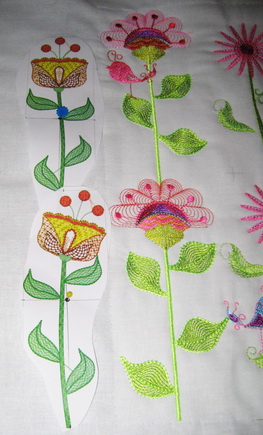
• Repeat the process to the left of “Bright Flower_01 and 02” stitch out “Bright Flower_07 and 08”
• Repeat the process to the right of “Bright Flower_01 and 02” stitch out “Bright Flower_09 and 10”
• Repeat the process to the right of “Bright flower_09 and 10” stitch out “Bright Flower_05 and _06”
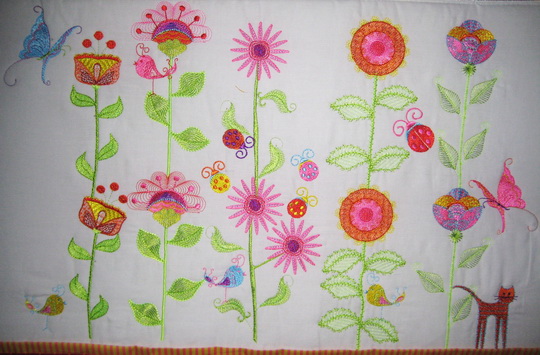
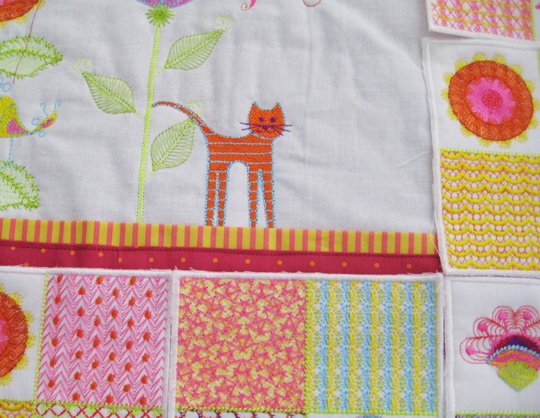
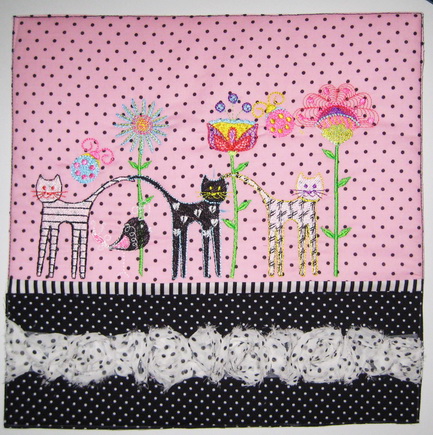
• Repeat the process to the left of “Bright Flower_07 and 08” stitch out “Bright Flower_03 and 04” or if you find this all too confusing look at the photo :)
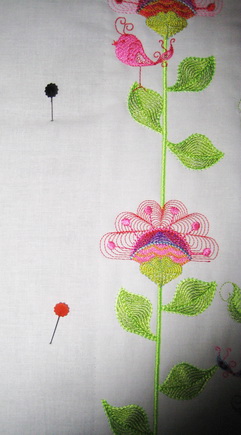
• To place the bird, ladybeetle, cat and butterfly the following instructions may help
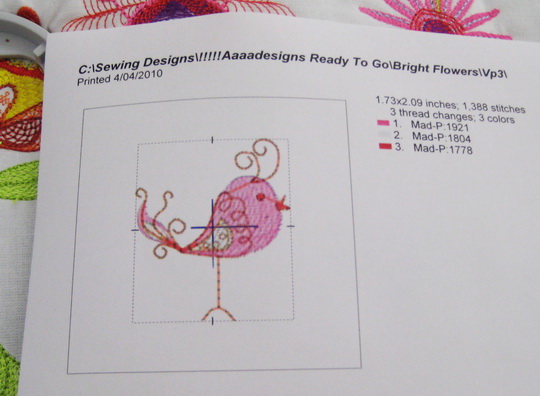
• Print out “Actual size” for the bird and others
• Mark the centre of the print out
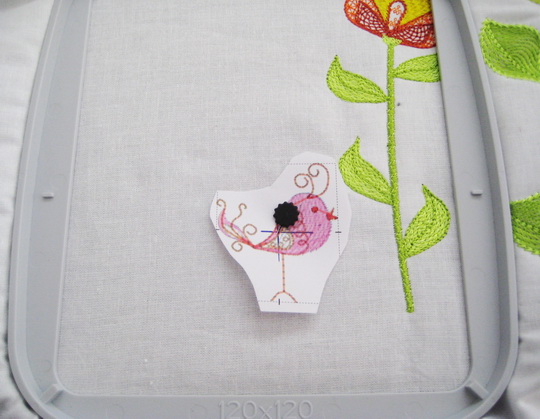
Place the design where you would like it and put a pin through the centre of the print out
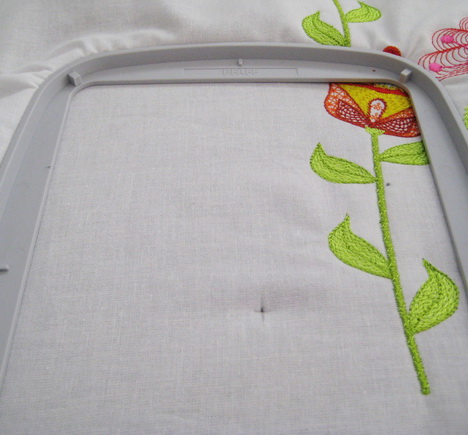
- Mark on the fabric the centre of the bird using either chalk or a fabric marker pen
- Stitch out Bird design
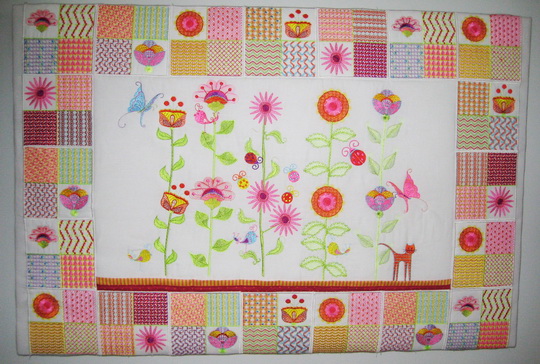
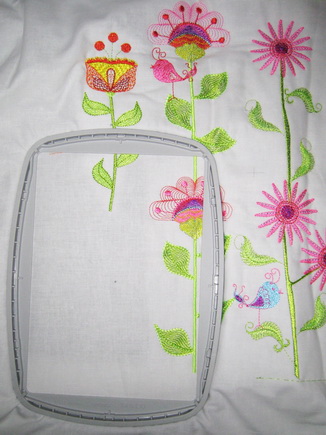
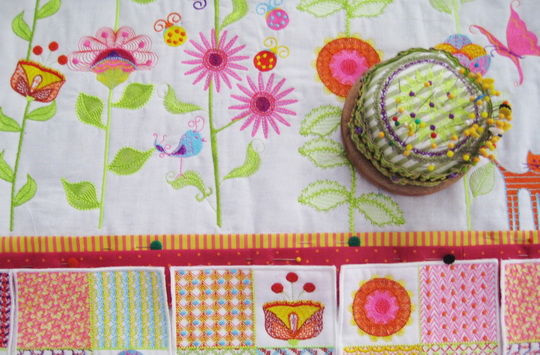
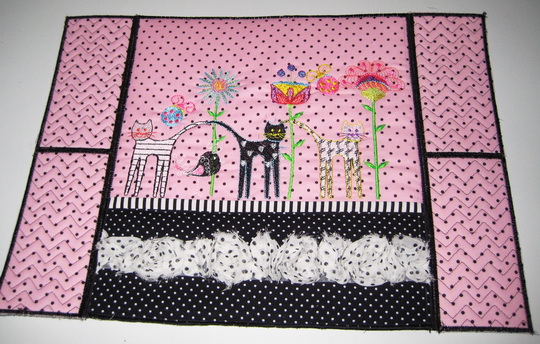
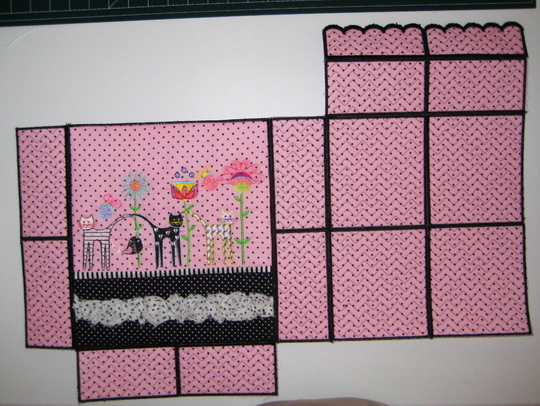
The photo shows how I placed the designs “Bright Flowers_11 through to 15” on the fabric
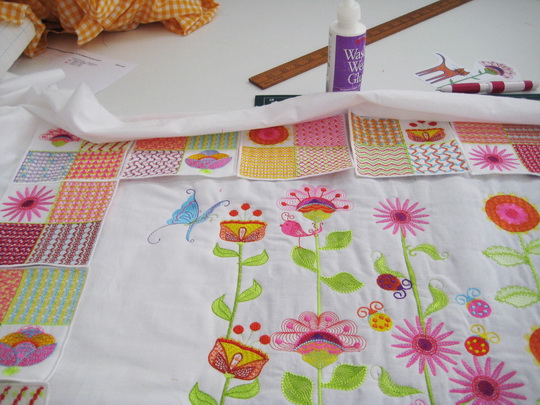
I used a fabric glue to place the square designs onto the background fabric, do not put too much glue on the squares just in the centre so you can easily move the squares till you get a perfect fit surrounding the centre designs
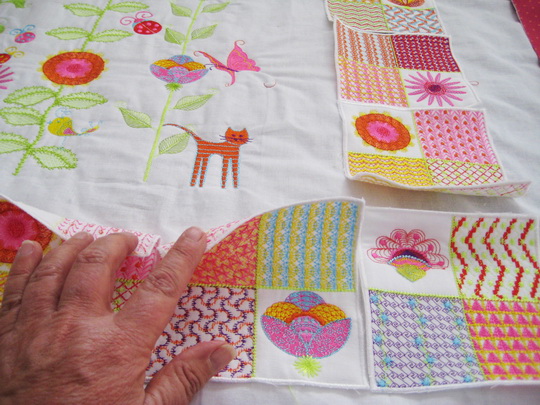
I did not glue down the bottom section fully as I need to put the fabric under the bottom layer of squares
Press the two fabrics
Pin the fabric down under the squares
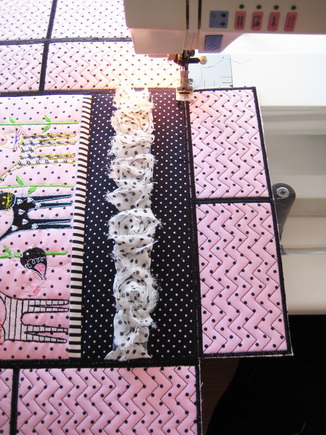
Stitch the striped and polka dot fabric down to the background fabric
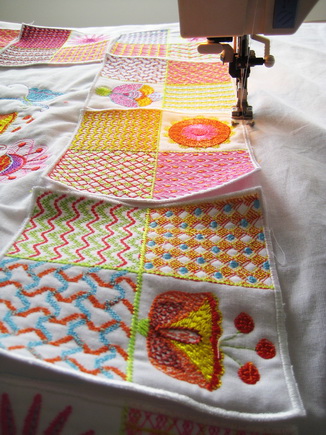
- I suggest you zigzag the squares down using a zigzag width and length that is wide so you can easily cut the thread away in case there is a slippage, which sometimes can happen
- Once you have zigzagged all the squares down and you are happy, stitch all the squares down using a satin stitch
- Spray glue over the canvas board then lay the thick batting over the canvas board
- Using a staple gun, staple the Wall Flowers to the back of the canvas board
- Cover the back of the canvas board with some old sheeting or fabric
- Using your staple gun, staple down venetian cord at each end of the canvas board to hang the canvas on the wall
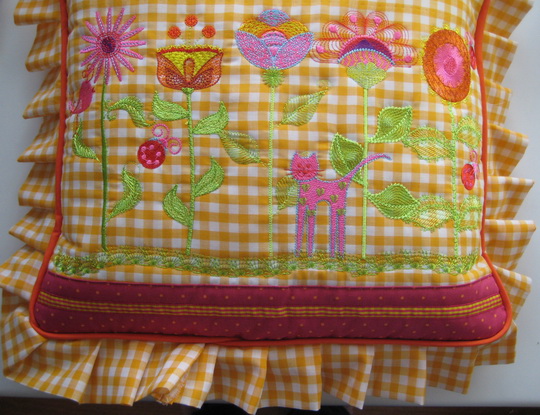
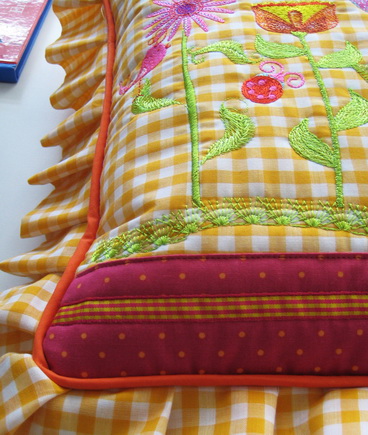
Wall Flowers Cushion
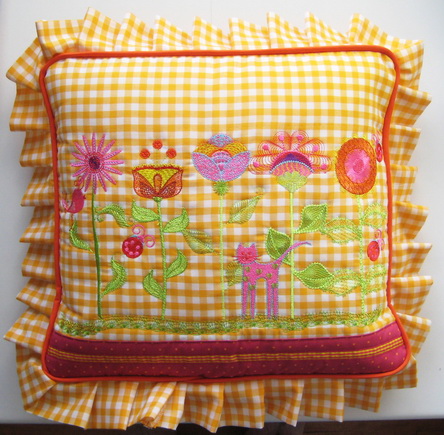
- You can see which designs I used here, place the flowers a similar way as I did on the canvas board (Wall Flowers instructions)
- Use a decorative stitch from your machine to make the grass
- If you have a hoop large enough you can stitch out “Bright_360x150” or “Bright_360x200”
Wall Flower Cushion Bag

Notions
- Pink and black polka dot fabric 2 meters or 2.5 yards
- Striped fabric small quantity
- Black and white polka dot fabric small quantity
- Thin wadding 2 meters or 2.5 yards
- Floriani “Stitch N Shape” 2 meters or 2.5 yards (do not purchase the fusible versions as I find that the glue clogs your sewing machine needle) click on the following URL if you wish to purchase this product http://www.florianiembroidery.com.au/products.aspx?cat=152
- Gold chain for handle
- Magnetic snap lock
Stitch out the following designs
Hoop
- Bag_01
- Bag_02
- Bag_03
- Bag back 4 times
- Bag side 4 times
- Bag top front twice
- Bag top_bot 4 times
- Hoop the fabric and wadding slide your hoop into the sewing machine and then slide the medium weight stabilizer under the hoop to stitch out the following designs
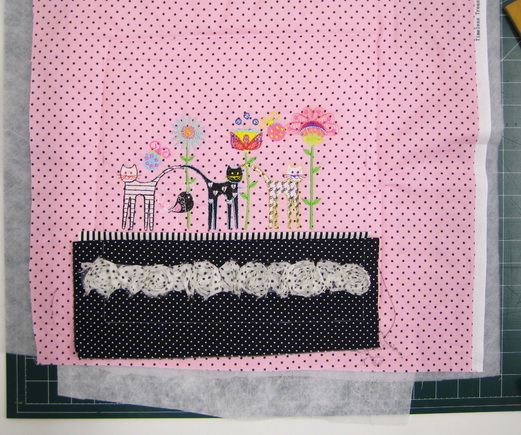
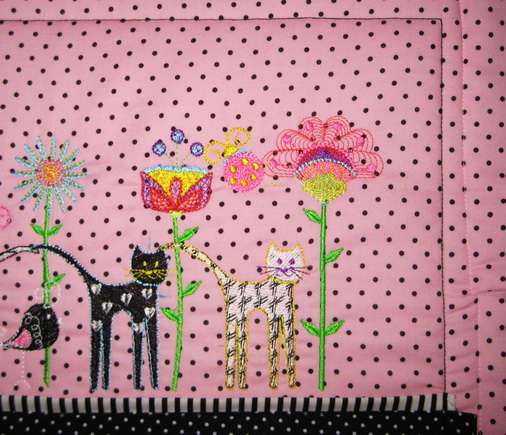
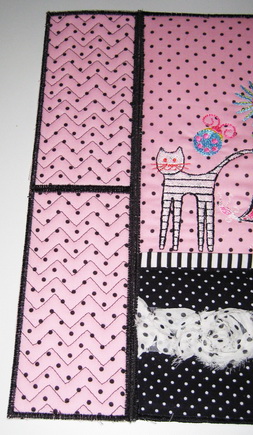
- Stitch out “Bag_01” first
- Then stitch out “Bag_02” by overlapping the cat’s tale slightly over the flower from “Bag_01”
- Stitch out “Bag_03” once again overlapping the cats tale slightly over the flower from “Bag_02”
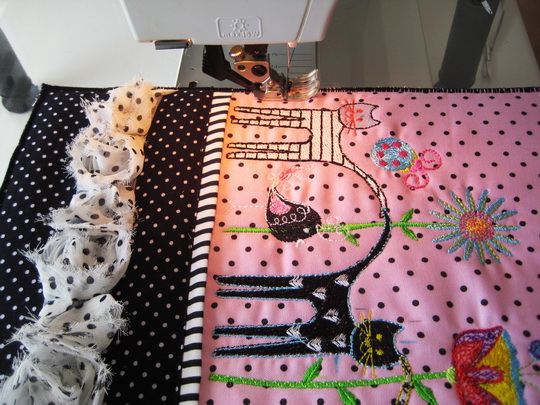
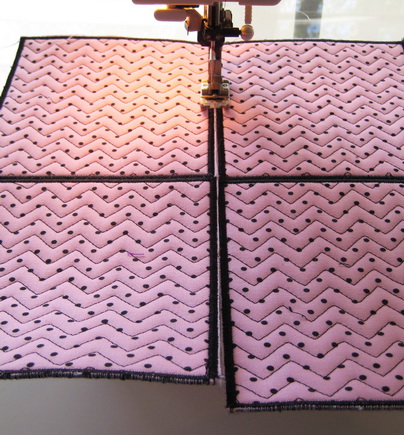
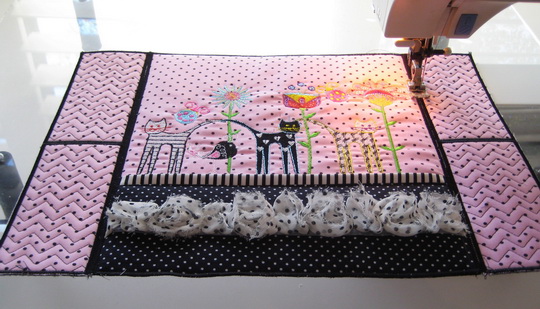
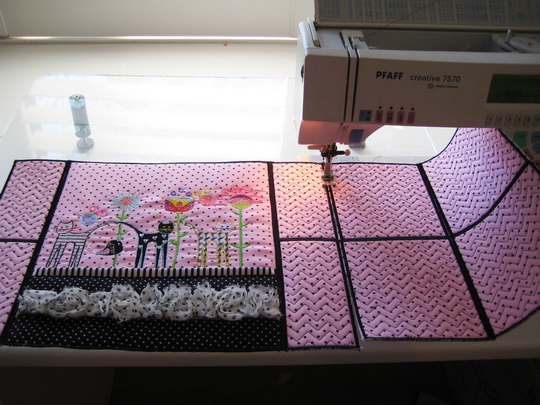
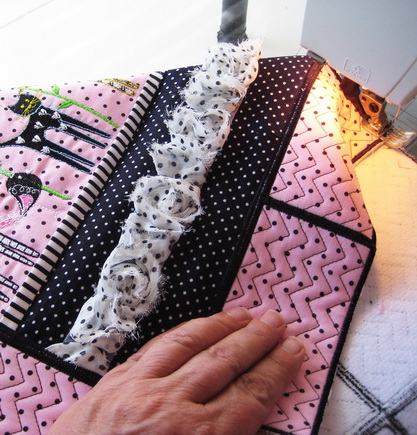
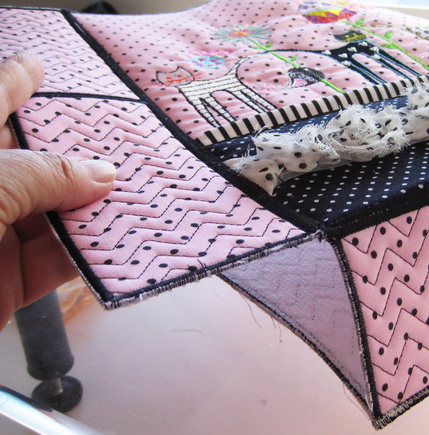
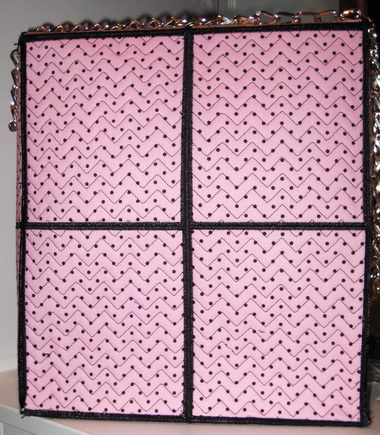
- Once you have finished stitching out all the designs using a straight stitch go around the designs as you can see in the photo
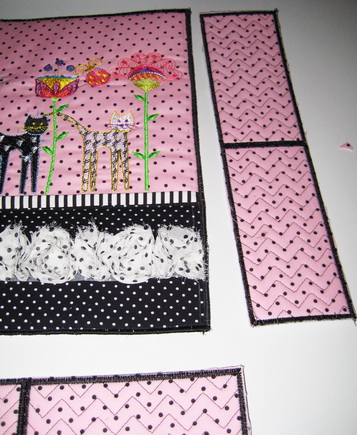
- Iron a hem over the striped fabric
- Iron a hem over the polka dot fabric
- Stitch both the striped and polka dot fabric down
You can see in the photo I have once again stitched in black thread, straight stitch which are the measurements for the front of the bag, this is where I will cut the fabric.
It might be best to check your measurements for the front of the bag once you have put the side panels and bottom panels together, as measurements can vary on what stabilizers you use and fabrics etc.
Measurements for the front of the bag
Width 25.8 cm or 10.15 inches approx
Length 28.4 cm or 11.18 inches approx
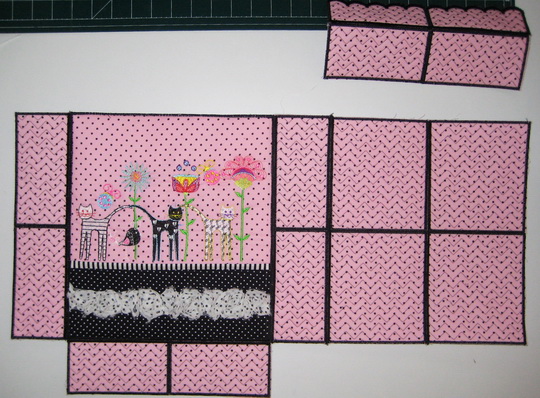
Front of the bag cut with scissors along the black thread straight stitch
• Cut out “Stitch N Shape” the same size as the front of the bag
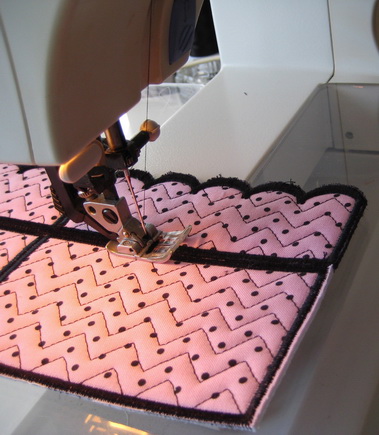
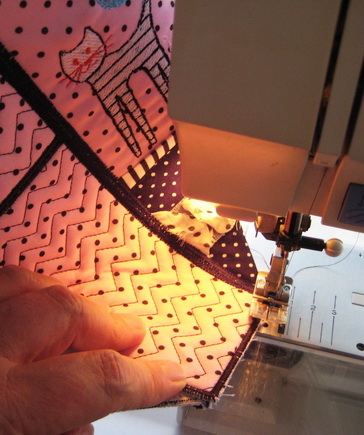
• Put under the front of the bag the “Stitch N Shape” zigzag stitch around the front of the bag
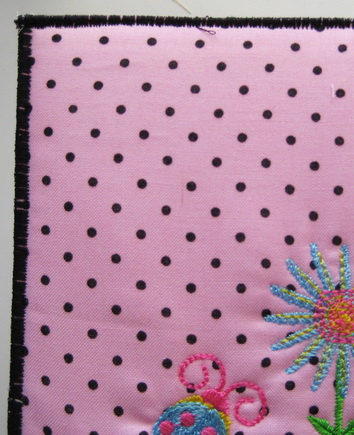
After you stitched the zigzag stitch you then go over the zigzag stitch with a satin stitch
• Using your zigzag stitch, stitch the two “Bag top_bot” together
• Stitch the two “Bag top front” together
• Stitch “Bag top_bot” to “Bag top front”
Stitch all 4 “Bag back” together
• Stitch the two “Bag side” together for both sides
• Stitch the tow “Bag side” to the front panel
Stitch once side of the side panels to the back panel

Stitch the “Bag top_bot” to the front panel
Stitching the “Bag top_bot” together
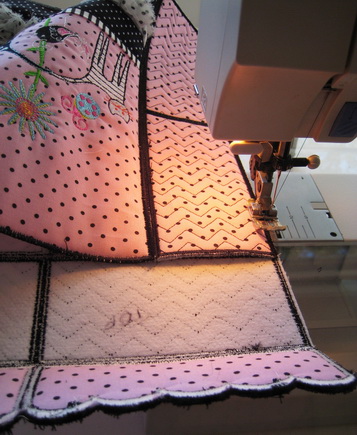
Stitch the top panel to the back panel
Top panel stitched to the back panel
First stitch the bottom panel to the side panel
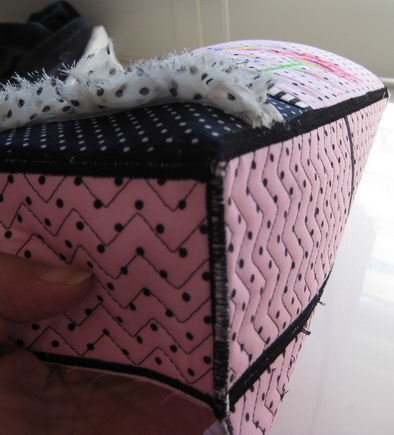
Stitched the bottom panel to the side panel
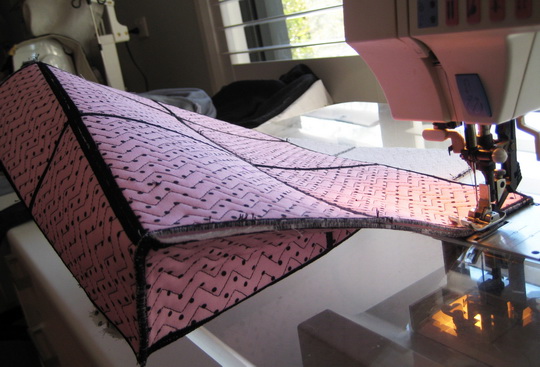
Stitch the back panel to the side panel
Stitch the other side of the bag, stitching side panel to the bottom panel
Stitching the side panel to the bottom panel
Stitching the side panel to the back panel, all done!!!!!!!!!
- Stitch the chain to either side panel
- Use one of those magnetic clips for bag, I would have used one on this bag, but, for the life of me I do not know where I have put the magnetic clips
TIP
If you have any white thread or fabric showing you can always use a permanent marker to cover
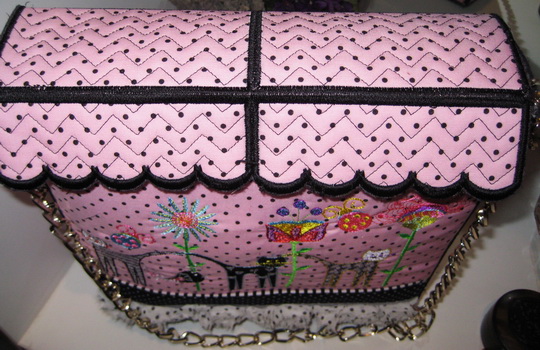
Back of bag
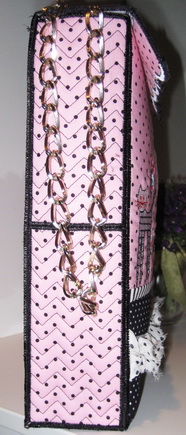
Side of bag
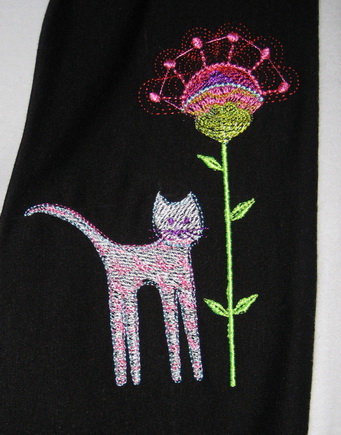
Wall Flowers Blouse
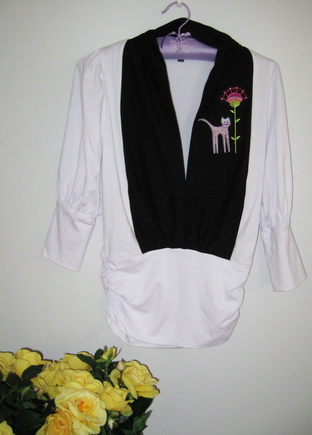
I stitched “Cat_06”onto the blouse