Blue Crush Cushion


Blue Crush Marchine Embroidery Designs


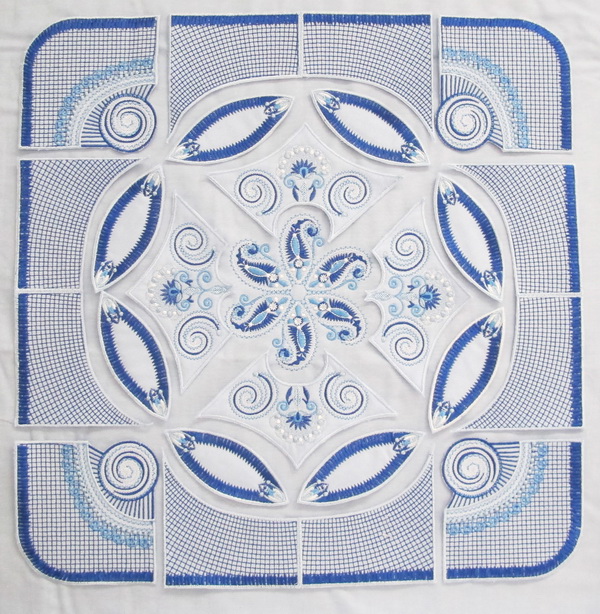
Stitch out the following designs

  • 2 x Blue Crush_10
  • 2 x Blue Crush_12
  • 8 x Blue Crush_13
  • 4 x Blue Crush_14
  • 4 x Blue Crush_14 mirrored
  • 4 x Blue Crush_15
  • 4 x Blue Crush_17
  • 4 x Blue Crush_18
  • 4 x Blue Crush_18 mirrored
  • 2 x Blue Crush_19
  • 2 x Blue Crush_19 mirrored

Notions

  • 4 Tassels
  • 3 yards of thin wadding
  • Tear Away stabilizer
  • 3 yards or 3 metres of cotton fabric (I used a pale blue cotton fabric) I always buy and recommend more fabric than you may need.


Blue Crush Machine Embroidery Designs


Blue Crush Machine Embroidery Designs


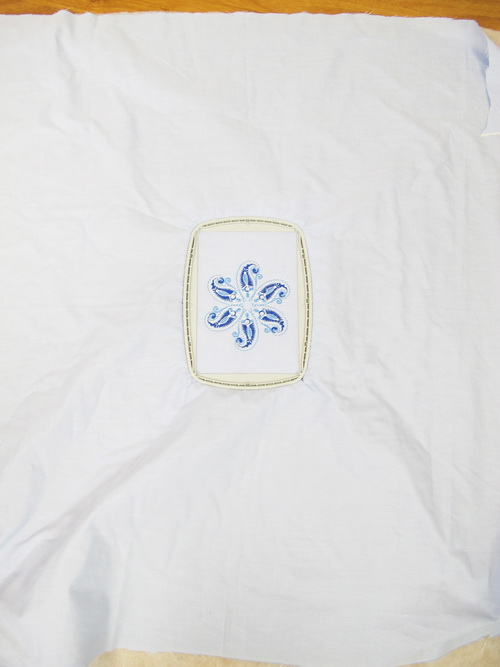
Once you have stitched all the designs out, using your sharp scissors cut as close as you can to the satin stitch borders


Blue Crush Machine Embroidery Designs


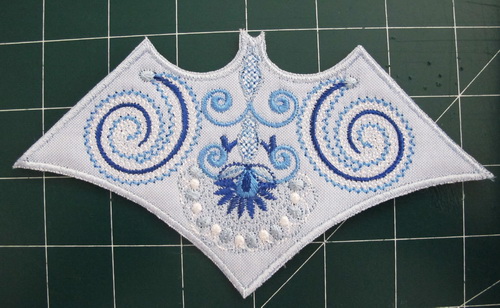
Photo above showing you the design cut very close to the satin stitch border


Blue Crush Machine Embroidery Designs


Blue Crush Machine Embroidery Designs


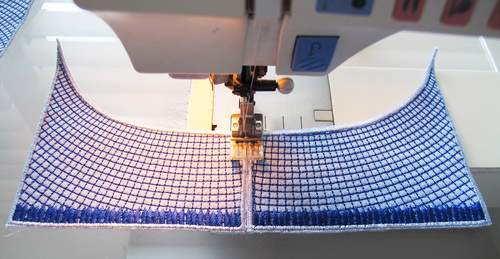
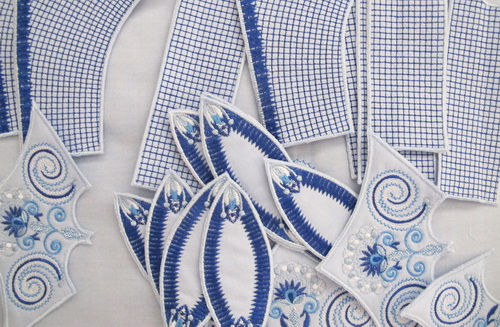
Zigzag stitch the two together


Blue Crush Machine Embroidery Designs


Joining two of the “Blue Crush_14” together by using a zigzag stitch


Blue Crush Machine Embroidery Designs


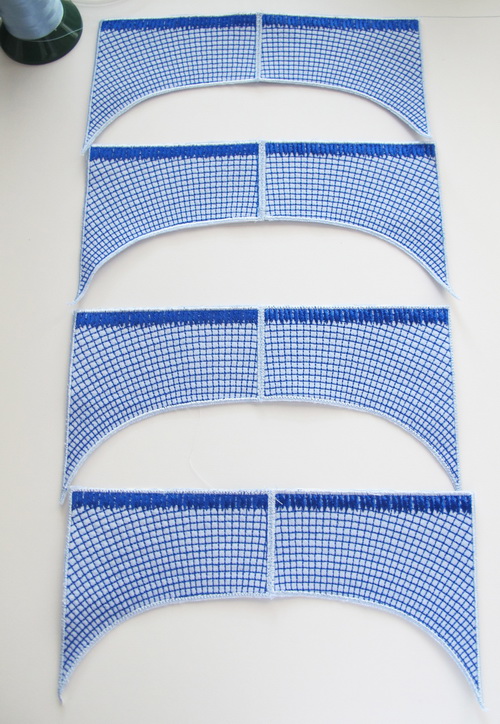
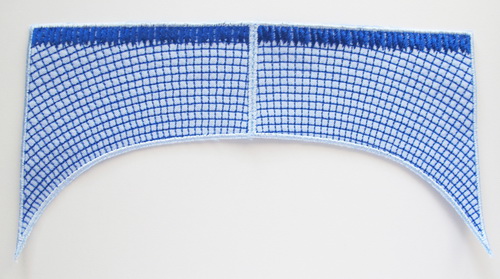
Zigzag stitch all “Blue Crush_14” together as you can see in the photo above


Blue Crush Machine Embroidery Designs


This part is important:

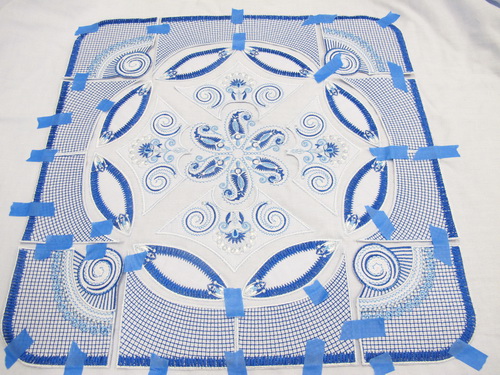
Lay all the above designs onto your background fabric and move the designs around until you are satisfied the designs are positioned correctly


Blue Crush Machine Embroidery Designs


ake away the outer designs as you have the “Blue Crush_13” correctly positioned


Blue Crush Machine Embroidery Designs


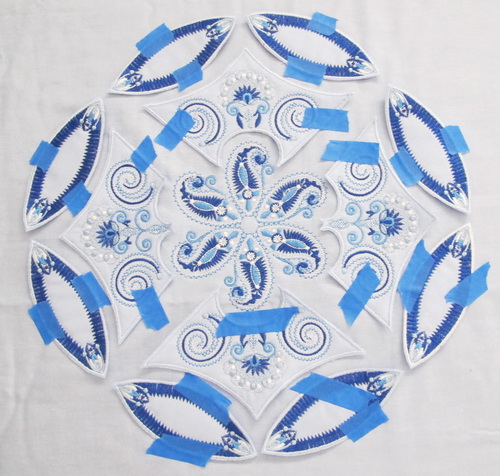
This is a great hint I picked up from “Pinterest” using “Scotch Blue Painters Tape” to keep each design in place before I lightly hot glued each design onto the background fabric

Zigzag stitch each of the satin stitch borders to the background fabric


Blue Crush Machine Embroidery Designs 


Once again position the designs as you can see in the photo above

Lightly hot glued each design onto the background fabric

Zigzag stitch each of the satin stitch borders to the background fabric


Blue Crush Machine Embroidery Designs


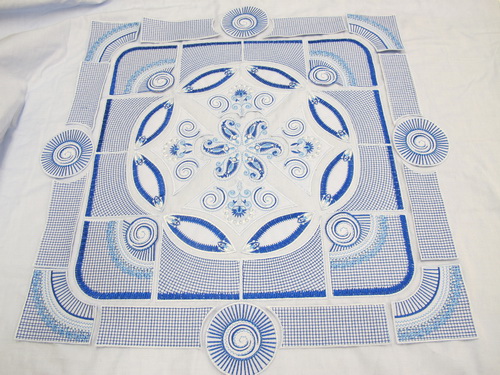
Close up photo of the positioning of “Blue Crush_17 and Blue Crush_18´

  • Once again position the designs as you can see in the photo above

  • Lightly hot glued each design onto the background fabric

  • Zigzag stitch each of the satin stitch borders to the background fabric


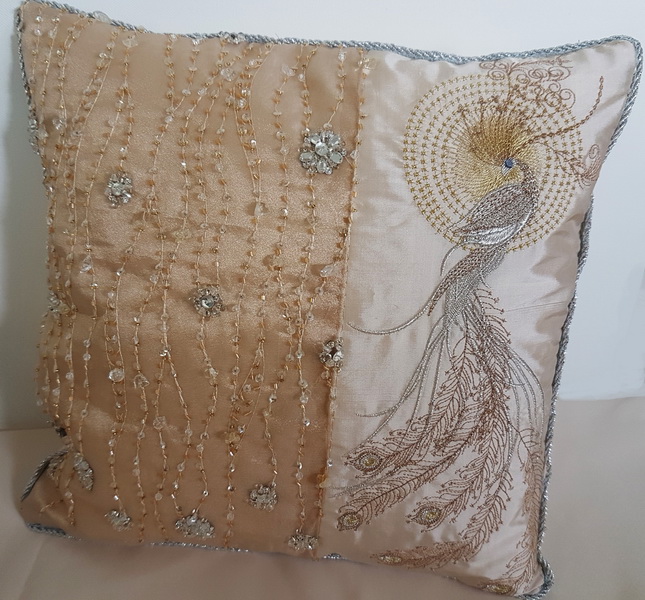
Blue Crush Red Cushion


Blue Crush Machine Embroidery Designs


Blue Crush Machine Embroidery Designs


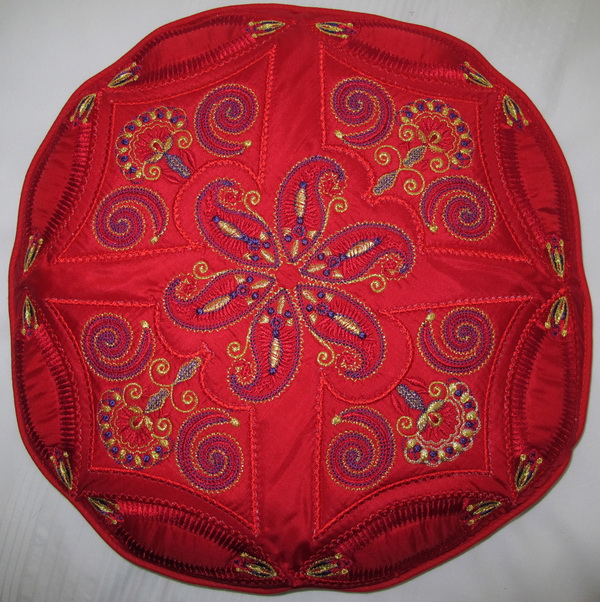
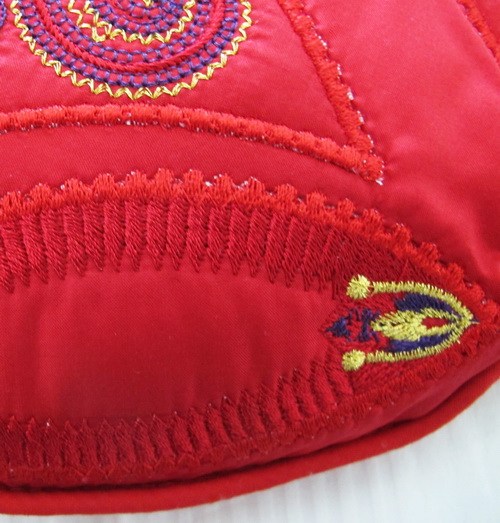
If you look closely at the above photo taken as a close up of the red cushion you can see that I have used my decorative stitches in the sewing machine, I used a small scallop stitch, this I did after I had zigzagged each design onto the background fabric
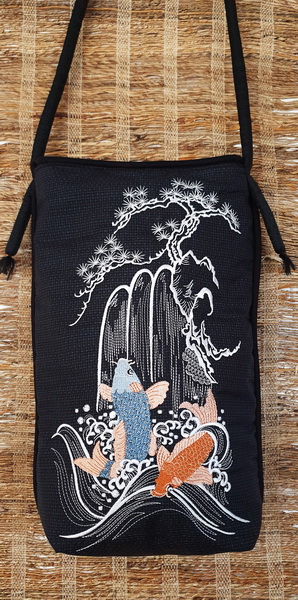
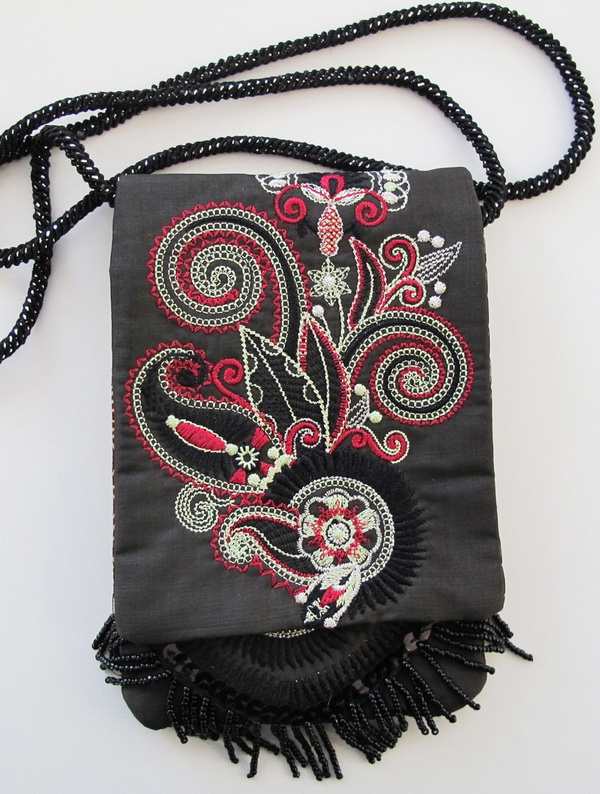
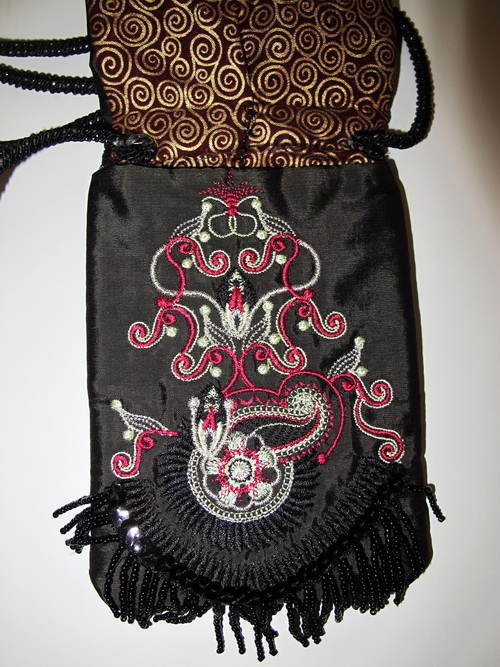


Black Purse


Blue Crush Machine Embroidery Designs


Notions 

  • 1 metre or 1 yard of black silk fabric

  • 1 metre or 1 yard of thin wadding

  • 1 metre or 1 yard of washed calico

  • Cut Away Stabilizer


Blue Crush Machine Embroidery Designs 


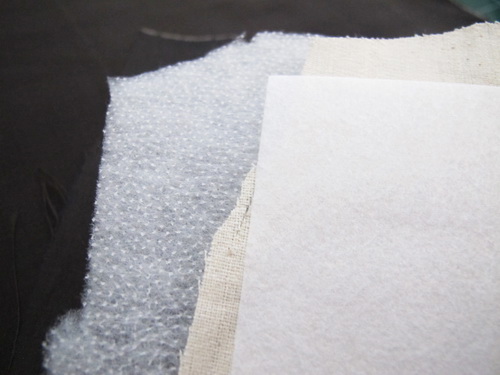
Insert into the hoop along with the black silk fabric, thin wadding, washed calico and stabilizer


Blue Crush Machine Embroidery Designs


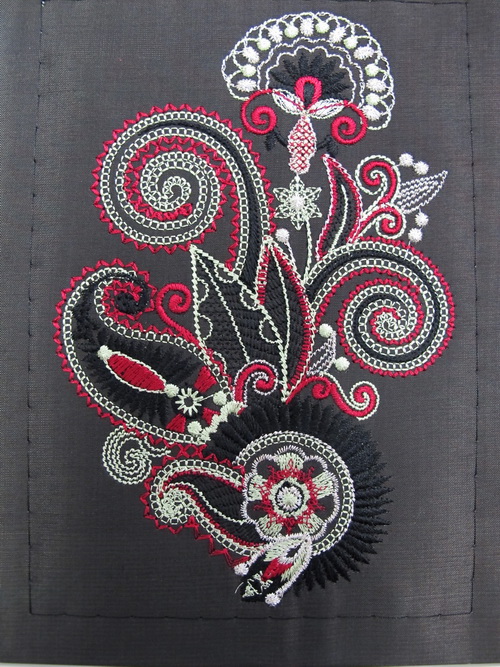
Stitch out “Blue Crush_01” this design is the flap for the bag


Blue Crush Machine Embroidery Designs


Stitch out “Blue Crush_03” this design is under the flap and if you wish to stitch the beads, the information for this portion is in your colour instructions. The design has also taken into consideration those who do not wish to put the beads on the purse.

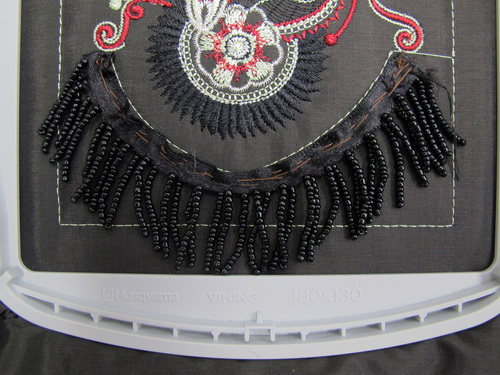
You can either stitch the beads onto the design by hand or you can glue the beads but remember not to take the design out of the hoop at this stage


Blue Crush Machine Embroidery designs


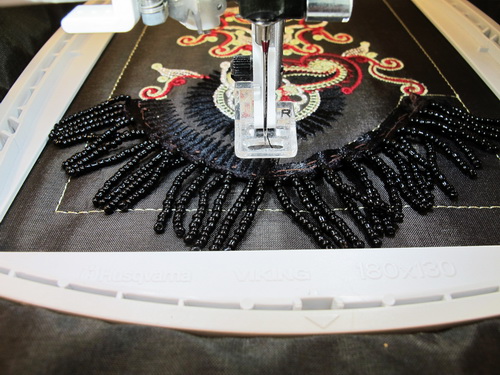
The photo above is showing you No. 8 in the colour chart stitching out.


Blue Crush Machine Embroidery Designs


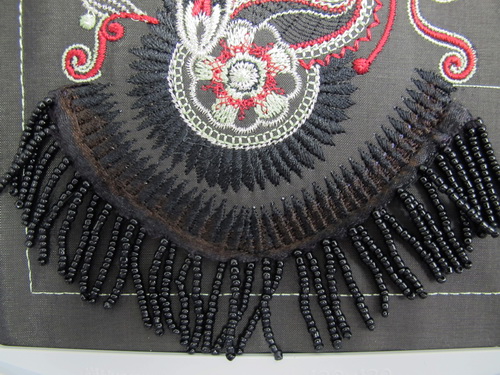
As you can see in the photo above you can still see the black organza that the beads are were sewn onto


Blue Crush Machine Embroidery Designs


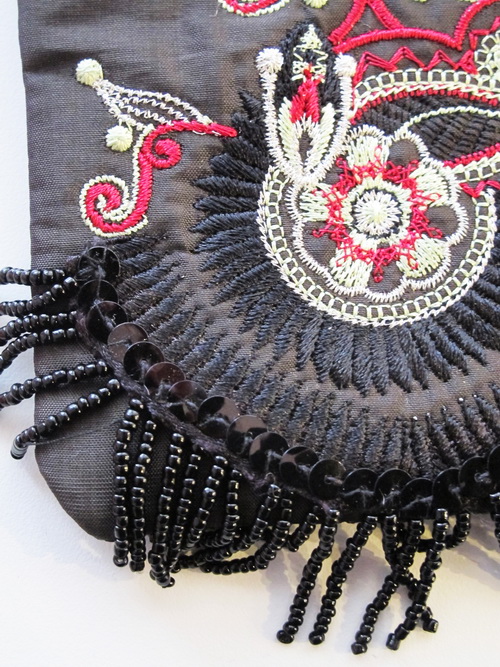
To hide the black organza I stitched the round beads onto the organza


Blue Crush Machine Embroidery Designs 


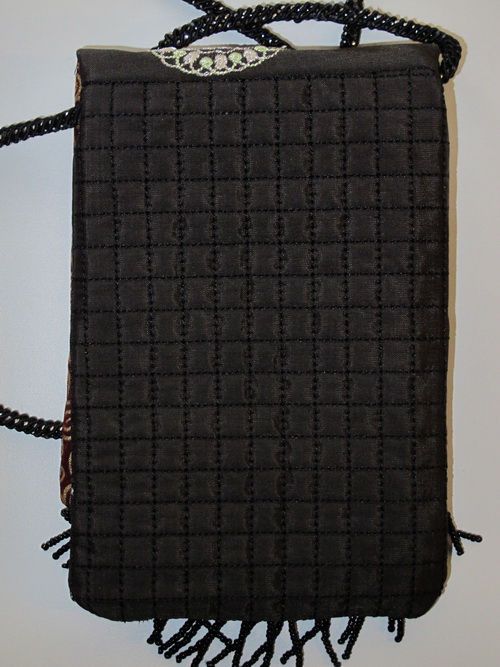
Stitch out “Blue Crush_09” which is the back of the purse

Stitch the front flap to the back of the purse


Blue Crush Machine Embroidery Designs


  • Stitch the front beaded section to the back of the purse

  • I am sorry I did not take any photos of the construction of the purse as I just plain forgot I got carried away putting the purse together must have been one of those days :)


Machine Embroidery Designs

 Latest Releases


Folklore Machine Embroidery Designs

Released on the 25th June 2019


 Folklore Machine Embroidery Designs by StitchingArt


6 designs included in the Folklore machine embroidery design set.

The Folklore design is suitable for a 6 x 10 inch or 240mm x 150mm hoop.

The Folklore design is available in DST, EMB, EXP, HUS, JEF, PES, VIP, VP3 and XXX.

The colour chart is included in the design set

As I am now digitizing with Wilcom embroidery software (which is a commercial software) we are unable to convert files to ART format. Bernina embroidery machines will now need to purchase designs in EMB or EXP format. Sorry for the inconvenience.

View the Folklore Machine Embroidery Designs

Mayil Machine Embroidery Designs

 
Mayil Machine Embroidery Designs

 Released on the 28th May 2019

6 designs included in the Mayil machine embroidery design set.

The Mayil design is suitable for a 14 x 8, 14 x 7 or 360mm x 200mm, 360mm x 150mm hoop.

The Mayil design is available in DST, EMB, EXP, HUS, JEF, PES, VIP, VP3 and XXX.

The colour chart is included in the design set

As I am now digitizing with Wilcom embroidery software (which is a commercial software) we are unable to convert files to ART format. Bernina embroidery machines will now need to purchase designs in EMB or EXP format. Sorry for the inconvenience.

View the Mayil Machine Embroidery Designs


springoflife4


Spring of Life Machine Embroidery Designs

 Released on the 27th April 2019

9 designs included in the Spring of Life machine embroidery design set.

The Spring of Life design is suitable for a 5 x 7, 6 x 10, 8 x 12 inch or 180mm x 130mm, 240mm x 150mm and 360mm x 200mm hoop.

The Spring of Life design is available in DST, EMB, EXP, HUS, JEF, PES, VIP, VP3 and XXX.

The colour chart and instructions are included in the design set

As I am now digitizing with Wilcom embroidery software (which is a commercial software) we are unable to convert files to ART format. Bernina embroidery machines will now need to purchase designs in EMB or EXP format. Sorry for the inconvenience.

 View the Spring of Life Machine Embroidery Designs


Wild and Free Machine Embroidery Designs


Wild and Free Machine Embroidery Designs

 Released on the 2nd February 2019

6 designs included in the Wild and Free machine embroidery design set.

The Wild and Free design is suitable for a 6 x 10 inch or 240mm x 150mm hoop.

The Wild and Free design is available in DST, EMB, EXP, HUS, JEF, PES, VIP, VP3 and XXX.

The colour chart and instructions are included in the design set

As I am now digitizing with Wilcom embroidery software (which is a commercial software) we are unable to convert files to ART format. Bernina embroidery machines will now need to purchase designs in EMB or EXP format. Sorry for the inconvenience.

 View the Wild and Free Machine Embroidery Designs