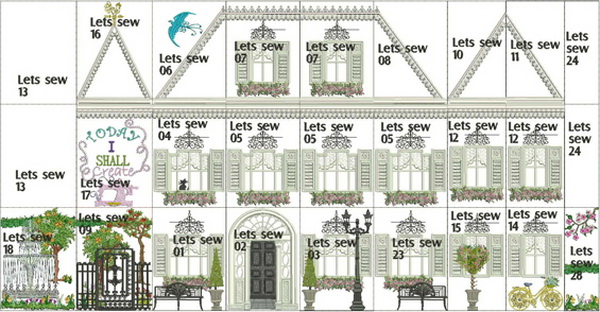
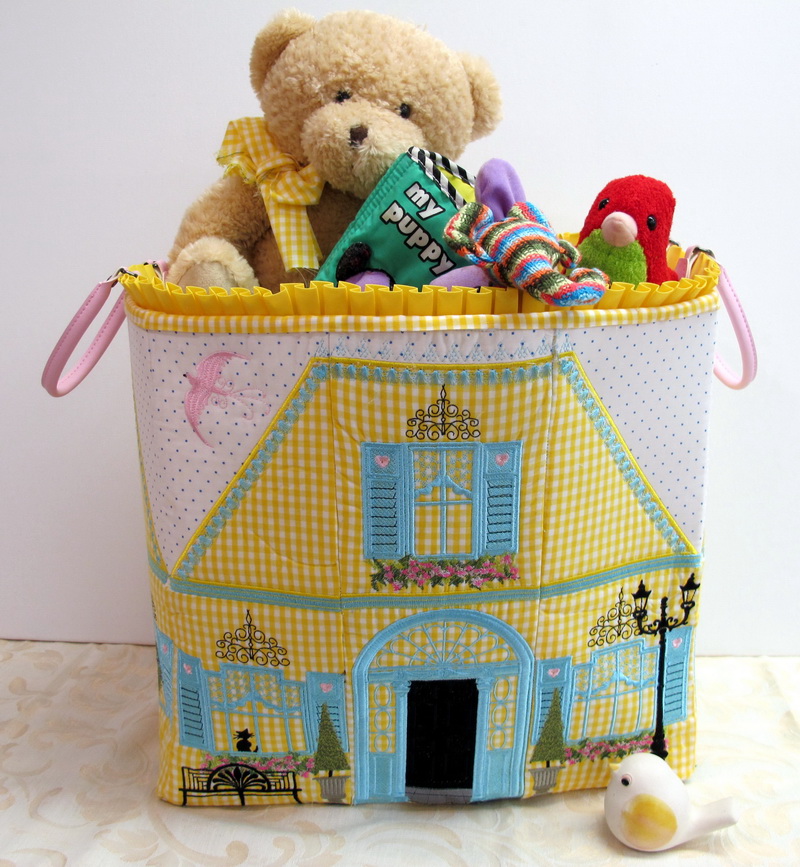
Let's Sew Bag
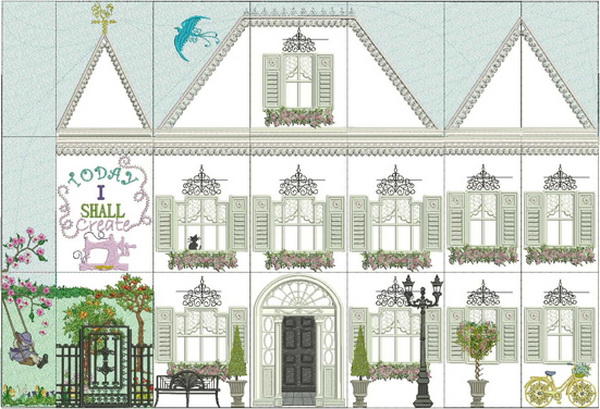
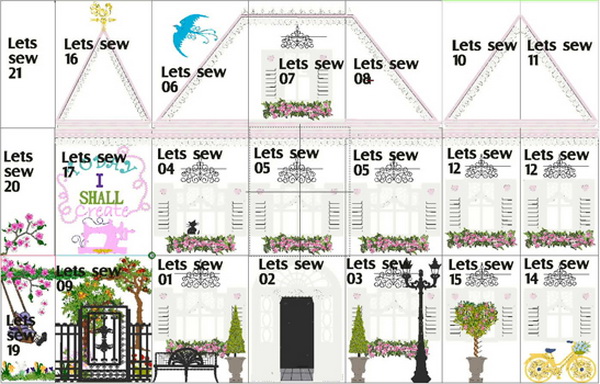
Examples of configuring the designs
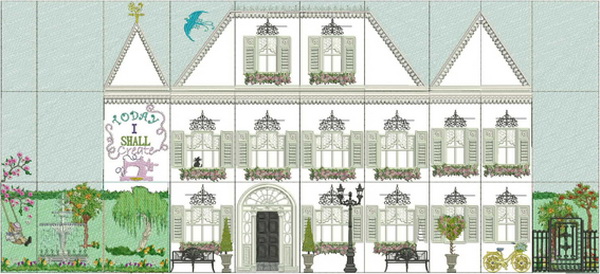
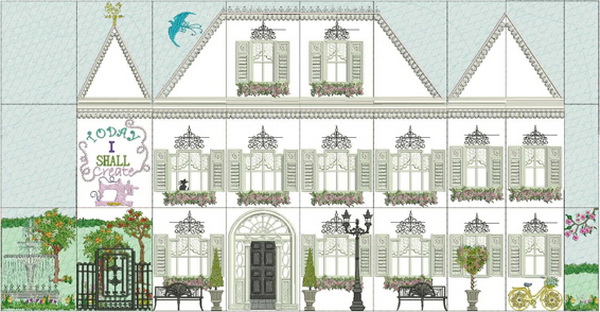
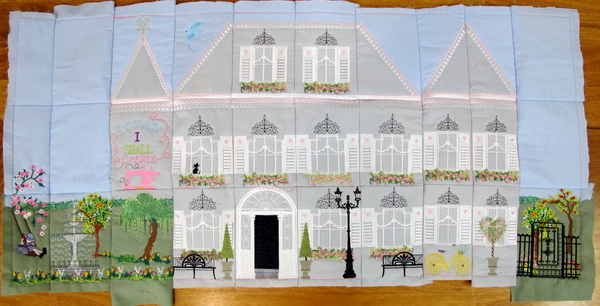
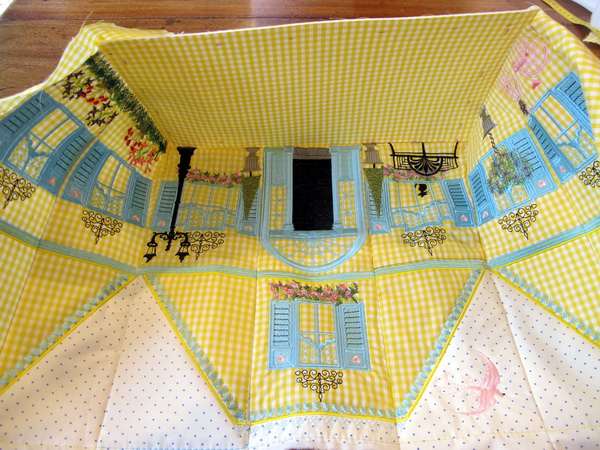
Below are 4 different examples showing you how you can configure the designs to what ever size of machine you have or container you wish to have, you can make any size you wish by using the designs within the set.
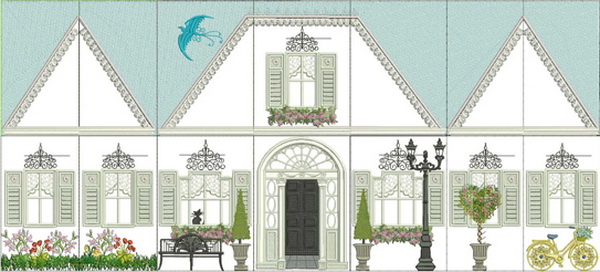
This is the example I used for the container Measurements
- 35 x 20 cm
- 14 x 8 inches
Measurements
- 53 x 20 cm
- 21 x 8 inches
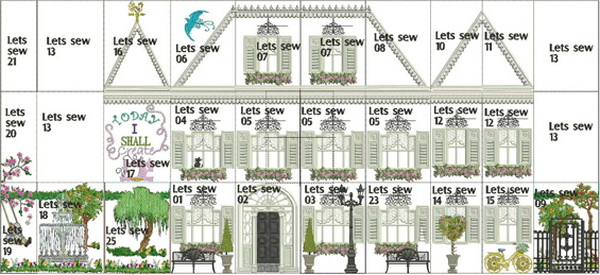
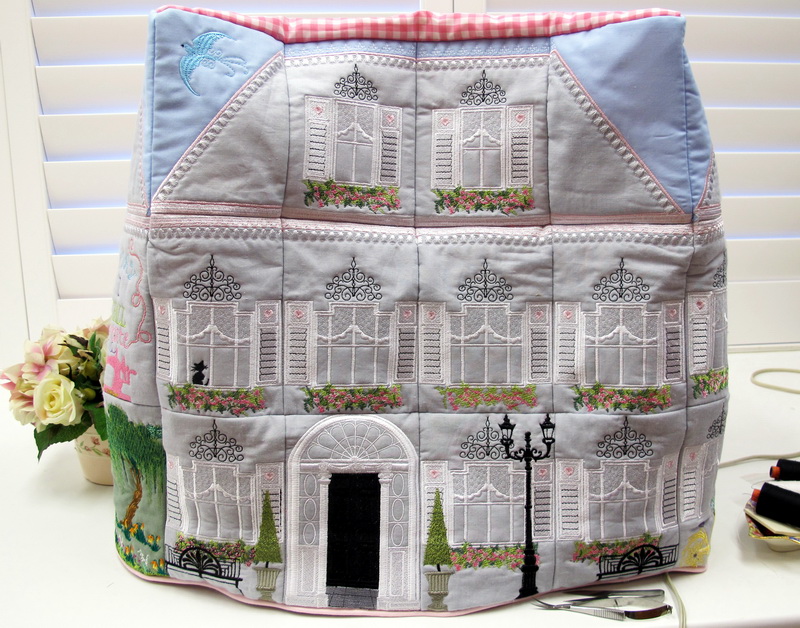
This is the example I used to cover my sewing machine Measurements
- 53 x 33 cm
- 21 x 13 inches
Measurements
- 53 x 26 cm
- 21 x 10 inches
Instructions for the Let's Sew Sewing Machine Cover
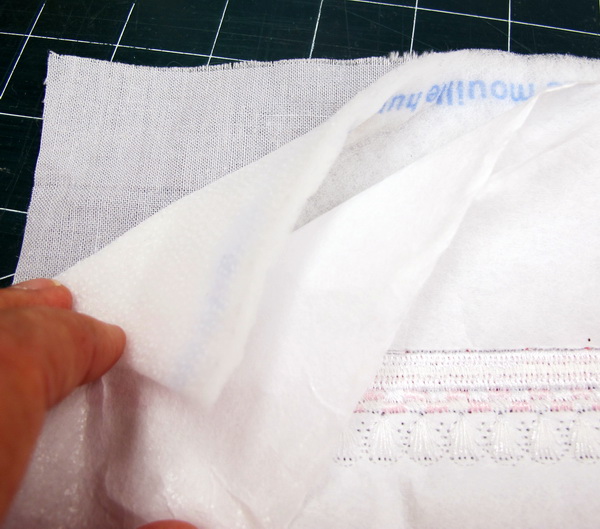
Showing in the photo above the materials I used to stitch the designs out
- Fabric
- Thin pellon (wadding)
- Cut away stabilizer 1 sheet for the panels with a small amount of stitching, for the more dense stitching 2 sheets
Materials you will need to make the sewing machine cover
- Grey Fabric for the exterior of the house 3 meters, I always buy more than I need
- Thin pellon (wadding) 3 meters
- Blue fabric for the sky 1 meter
- Green fabric for the garden scenes 1 meter
- 3 meters of Cut Away stabilizer. Depending on the density of each design panel I used 1 or 2 sheets
- 2 meters Heavy wool batting or just a heavy batting as the wool can be expensive, I only used the wool as I had it on hand but I would have used a heavy batting if I had it at hand
- Piping for the base edge of the sewing machine cover optional
- Lining fabric
The following photos are also in the colour chart for you to follow the step by step to do the applique work
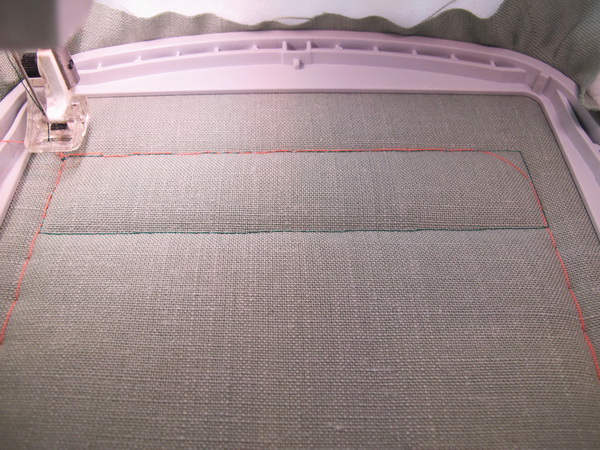
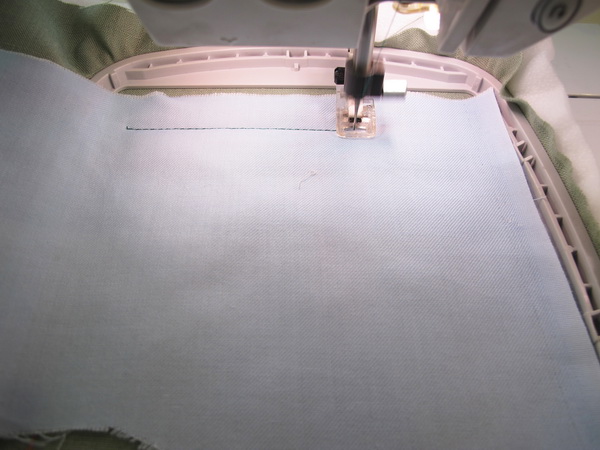
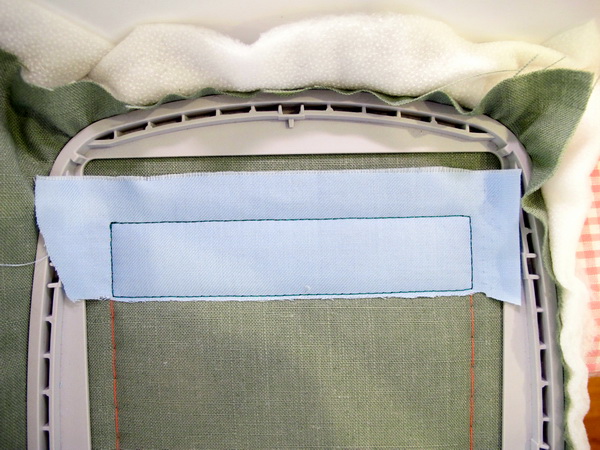
- This colour thread is to stitch out, as it will show you how much fabric you need for the sky fabric as you can see in the photo above
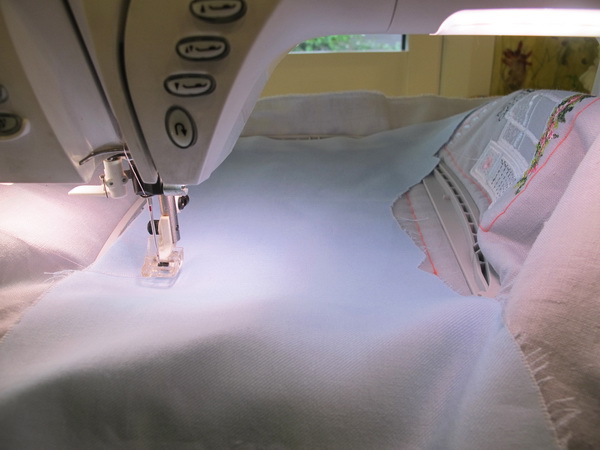
- (a)Lay the sky fabric over the stitches you had just stitched out, the following photo will show you (b) Stitch out over the sky fabric. Once you have stitched out over the sky fabric, (c) Take the hoop out of your machine and cut the sky fabric as close as you can to the stitches, you just stitched. Put your hoop attachment back into your machine
(a)
(b)
(c)
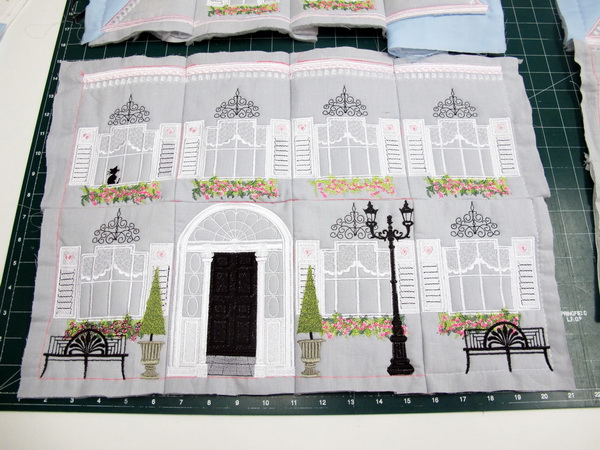
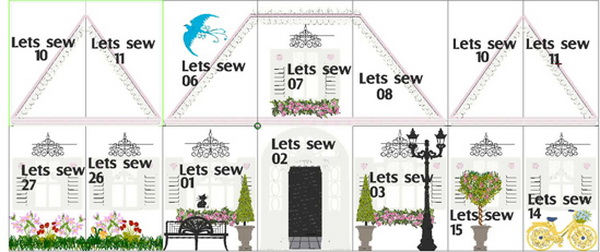
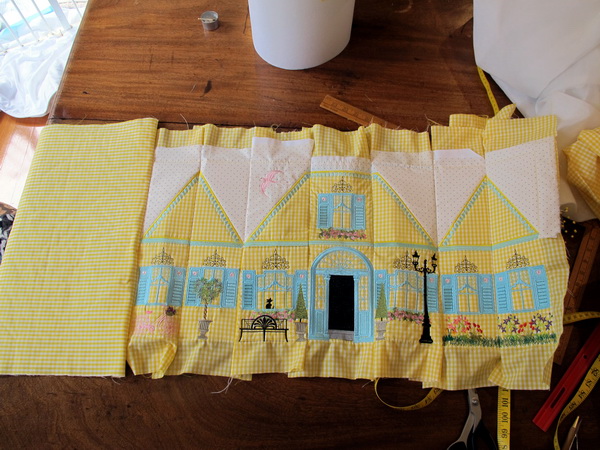
Once you have stitched all the designs out
- Match up the outline stitches and stitch the designs together
- I suggest for the front, sides, back and top panels you stitch at this stage the thick batting to each panel. Just stich the batting around the edge of each large panel
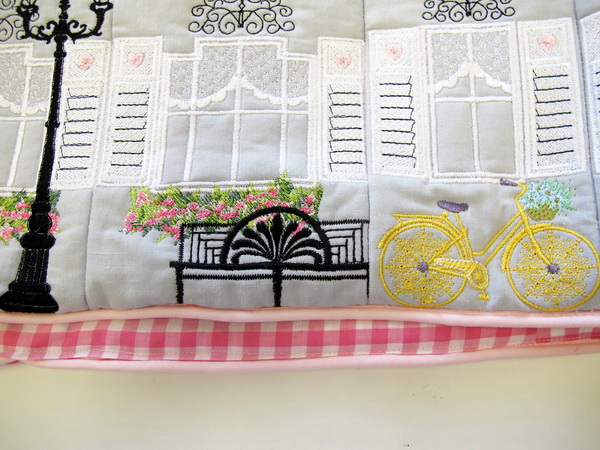
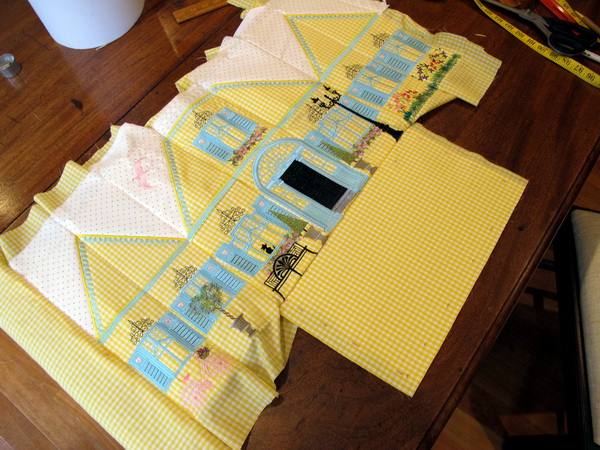
The front panel, and side panels stitched together
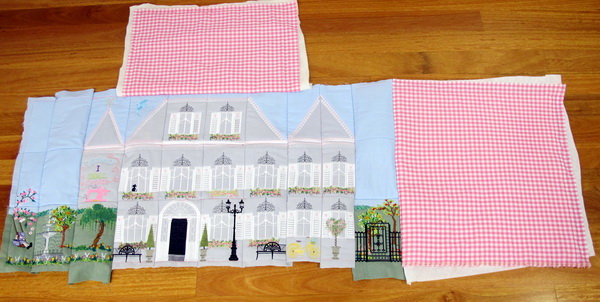
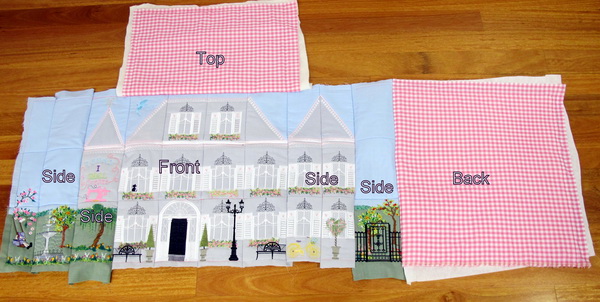
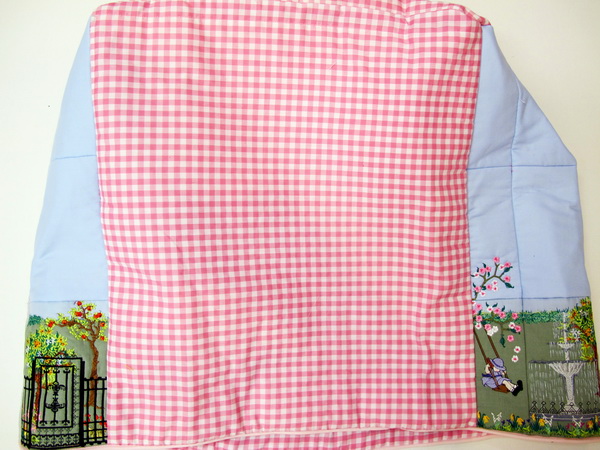
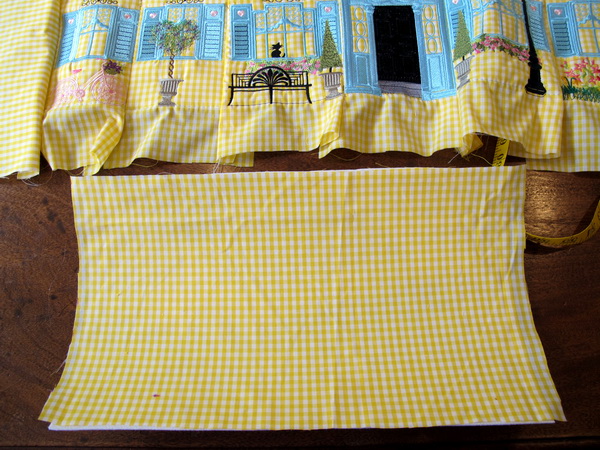
- I chose a gingham fabric for the top and back panels
- BACK Measure the width and length of the house panels
- Stitch the back panel to one of the side panels of the house
- TOP Measure the width of the house front panel and the width of the side panel of the house for the top of the machine cover
- Stitch the top panel to the front panel of the house
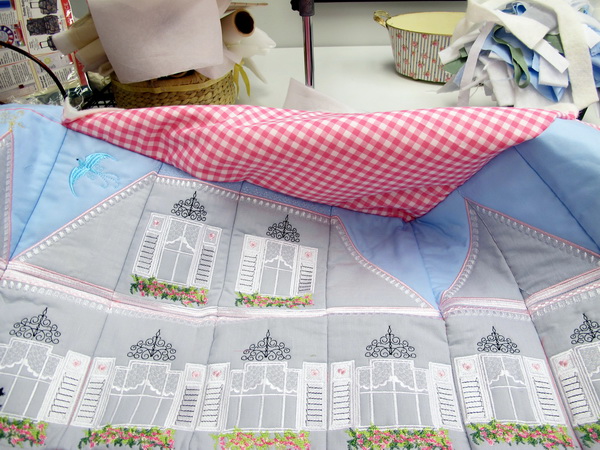
Stitch the top panel to both side panels of the house
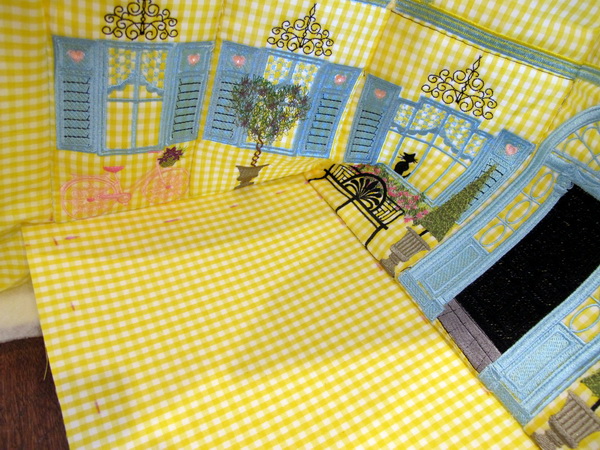
Stitch the back panel to the top panel
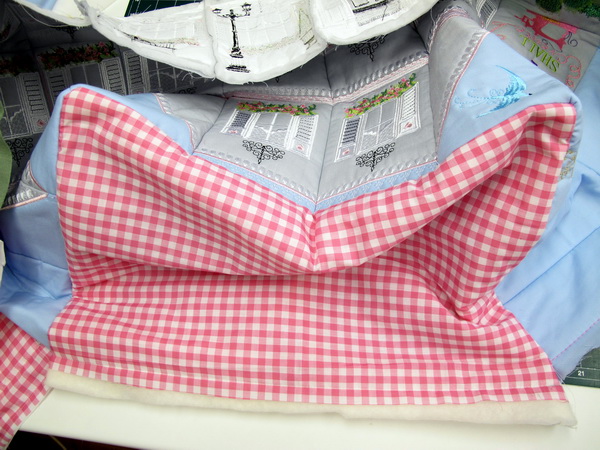
The back panel stitched to both side panels
- Just to give a nice finish to the machine cover I added piping to the base of the cover
- I then made a lining
Instructions for the Let's Sew Container
-
Showing in the photo above the materials I used to stitch the designs out
- Fabric
- Thin pellon (wadding)
- Cut away stabilizer 1 sheet for the panels with a small amount of stitching, for the more dense stitching 2 sheets Materials you will need to make the container cover
- Yellow gingham Fabric for the exterior of the house 3 meters, I always buy more than I need
- Thin pellon (wadding) 3 metersBlue and white poker dot fabric for the sky 1 meter

- 3 meters of Timtex, it is a sew-in stabilizer, non-woven, 100% polyester, machine wash and dry. The photo above showing you the Timtex stabilizer
- Piping or something decorative for the top edge of the container, optional
- Hot glue gun
- Lining fabric
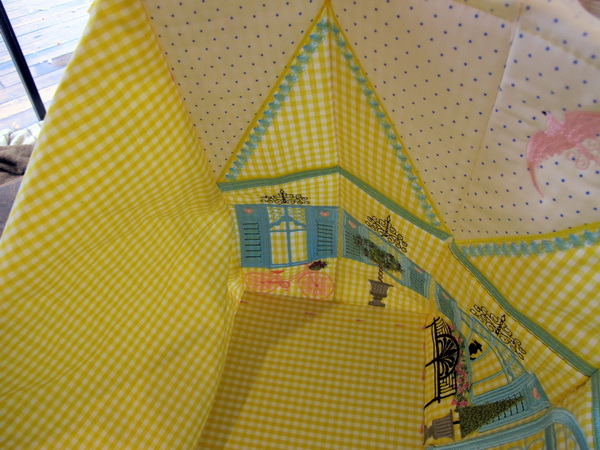
Stitch out each of the design panels for the container
- Match up the outline stitches and stitch the designs together
- Do not stitch the sides and base to the front of the container at this stage
- I suggest for each of the front, sides, back and base panels, you baste at this stage the Timtex to the front panel, base then do the two side panels, Trim down your seam allowance as much as possible of the Timtex;.
- I chose a gingham fabric for the top and back panels BACK Measure the width and length of the house panels
- Stitch the back panel to one of the side panels of the house BASE Measure the width of the house front panel and the width of the side panel of the house for the base of the container
Once you have stitched the two side panels to the front panel, stitch the base to the front panel
The base stitched to the front and one side panel
The base stitched to the front and two side panels
Back panel stitched to the base
Make the lining for the container, I made the lining slightly longer

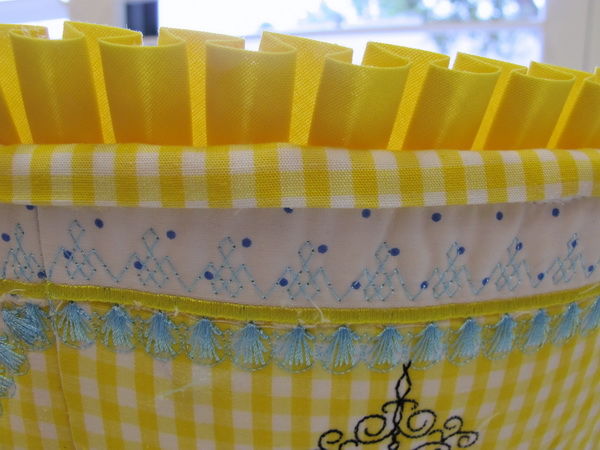
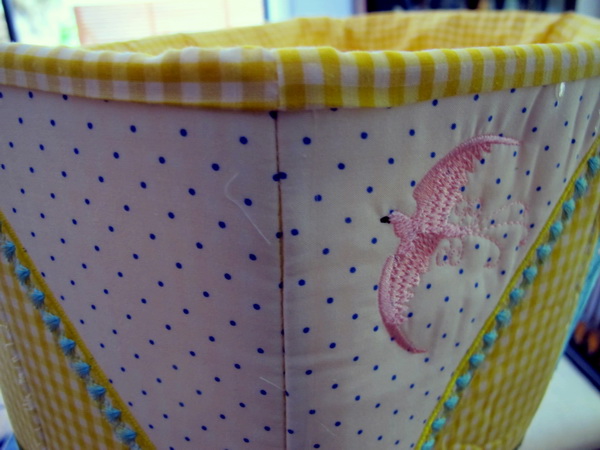
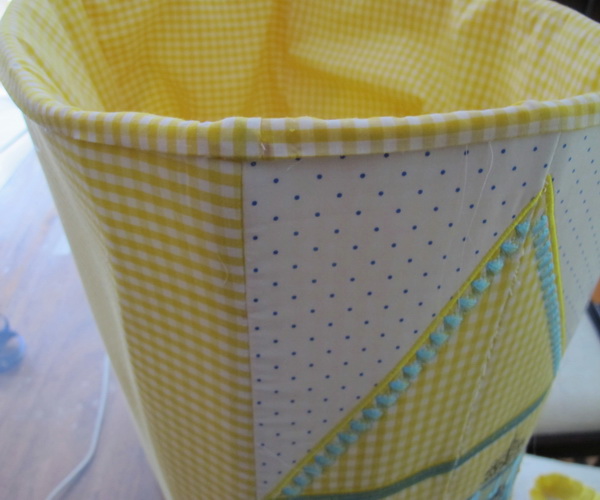
- To give the container a nice finish I stitched the pleating around the top of the container
- Glued and then stitched the two leather handles to the container
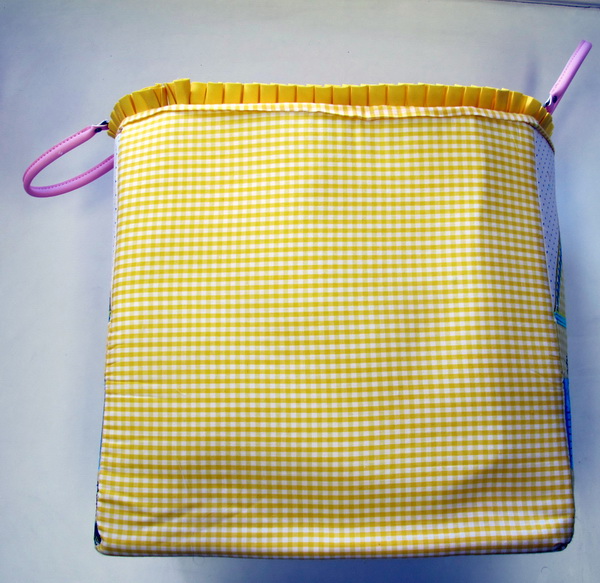
Showing you the back of the container