 |
|
|
1 |
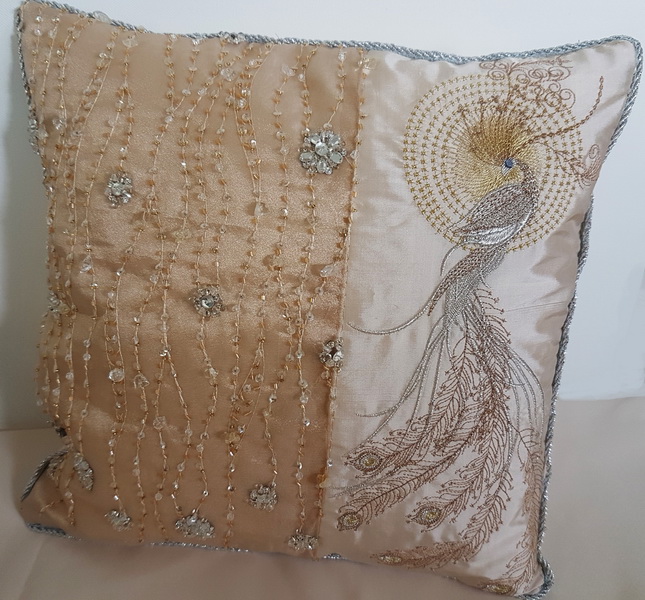
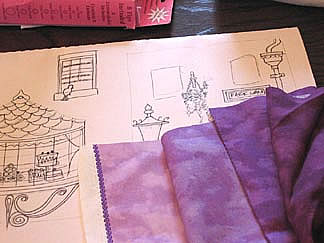
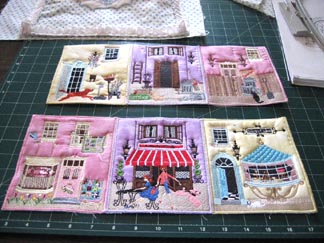
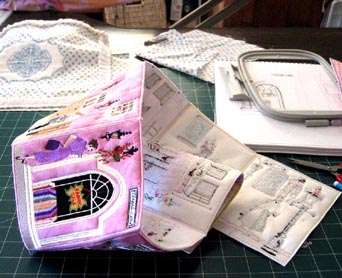
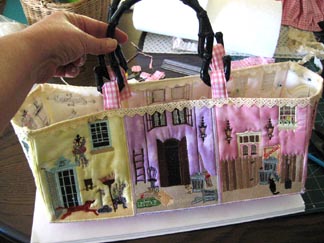
The fabric featured in the photo opposite I purchased a couple of years ago in the States. The 3 shades of the mauve is on the one piece of fabric as the same with the pink and yellow fabric you see in the Sack de Ville bag |
| |
|
|
2 |
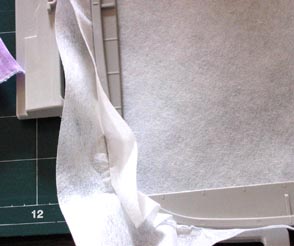
I put 2 pieces of tear away in the hoop |
| |
|
|
3 |
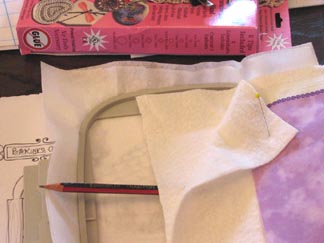
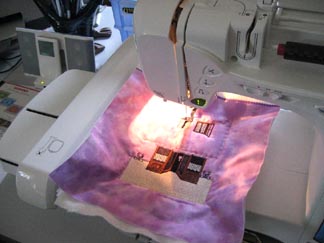
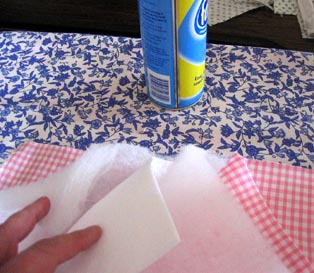
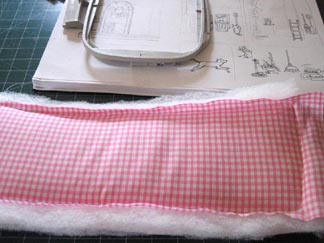
2 pieces of thin cotton batting over the top of the tear a way. Do not hoop put the fabric that you will use for the background of the Sack de Ville bag on top of the cotton batting. As seen in the photograph opposite. Once again do not hoop |
|
4 |
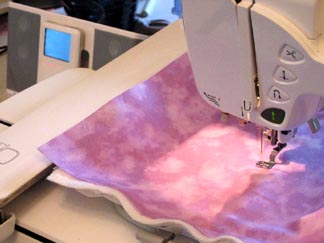
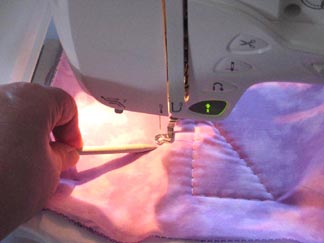
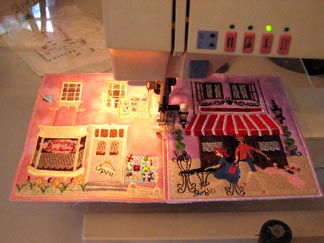
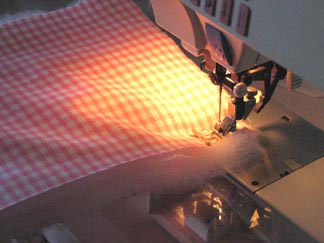
To stop the batting and fabric from moving, I have in my machine at all times a template for stitching all around the hoop starting from the center and working out and around, as you can see in the photograph No. 5 |
| |
|
|
5 |
Stitching out the hoop template As you can see in the photograph opposite the stitches are very large, so as to makes it easy for you to remove the stitches during the stitch out or when finished. I always like to take the template stitches out as I go |
| |
|
|
6 |
|
| |
|
|
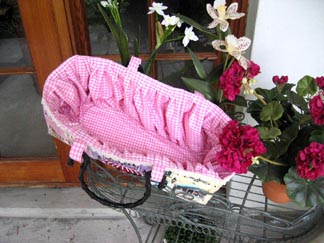
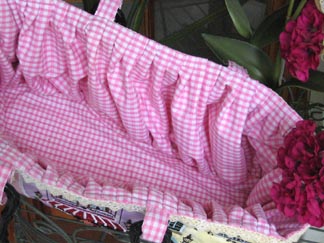
7 |
|
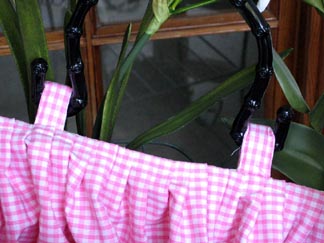
| |
|
|
8 |
Once you have stitched all the designs out. Cut with scissors around the satin stitch edge |
|
9 |
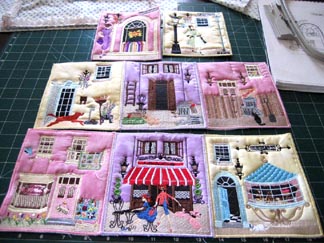
All the designs for the bag have been cut with the scissors around the satin stitched edge |
| |
|
|
10 |
Stitch using a zigzag stitch to join each of the panels together |
| |
|
|
11 |
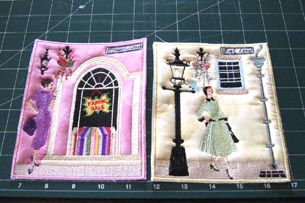
Stitch quilt shop to the Cafe and the cake shop to the Cafe as shown in the photograph opposite Stitch Cake shop back to the Cafe back and Quilt shop back as shown in the photograph opposite |
| |
|
|
12 |
Stitch the side panels to the correct sides Park lane will be in the middle of cake shop front and cake shop back |
| |
|
|
13 |
Thread lane will be in the middle of Quilt shop and Quilt shop back |
| |
|
|
14 |
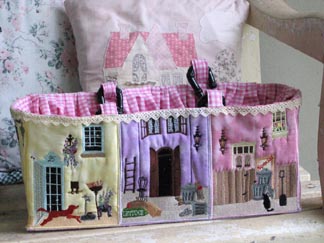
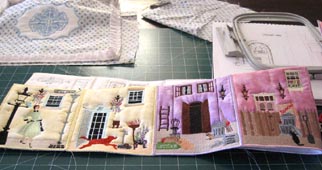
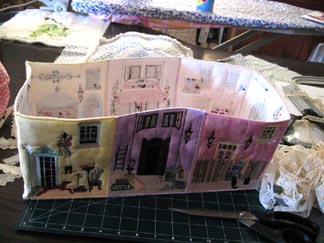
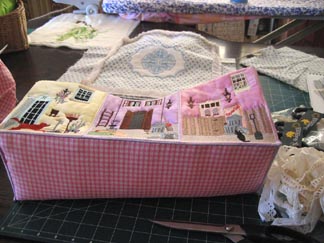
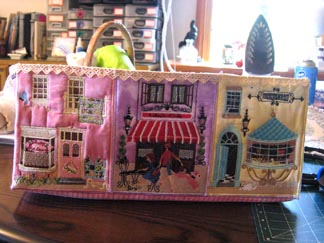
This is how the bag should look once you have zigzag stitched all the panels together |
| |
|
|
15 |
Measure the width and length of the outer bag to make the base of the bag. *Always cut more than what you need due to the bulk of the wadding
|
| |
|
|
16 |
Stitch around the outer edge of the base as shown in the photograph opposite Mark the exact width and length for the base of the bag |
| |
|
|
17 |
As you can see in the photograph I just stitched around the outer edge of the base of the bag |
| |
|
|
18 |
Mark with your chalk or marking pen the exact measurements for the base of the bag |
| |
|
|
19 |
Satin stitch around your markings for the base. I satin stitched a couple of times around the base, this gives you a nice finish to the base of the bag |
| |
|
|
20 |
Zigzag the base to all the panels |
| |
|
|
21 |
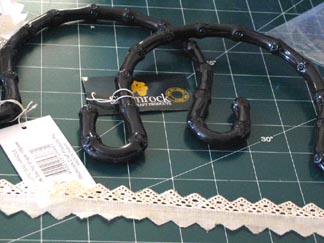
The handles I purchased in Sydney at Hobbsew. I beleive I saw similar handles while in the States at either Joann's or Walmart. The cotton lace I will be using to go around the top of the bag. I feel the lace just finishes the bag of nicely |
| |
|
|
22 |
Stitch the lace to the top of the bag, as seen in the photograph opposite and below number 23 |
| |
|
|
23 |
|
| |
|
|
24 |
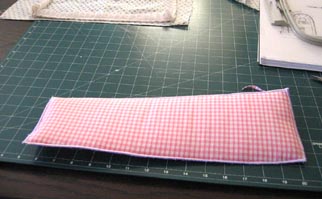
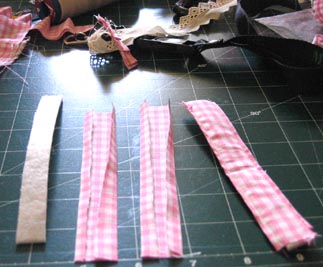
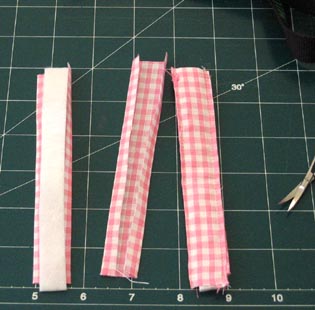
Bag handles Left to right Timtex Gingham fabric iron pressed at each end Finished handle |
| |
|
|
25 |
I cut the Timtex much thinner to the fabric width |
| |
|
|
26 |
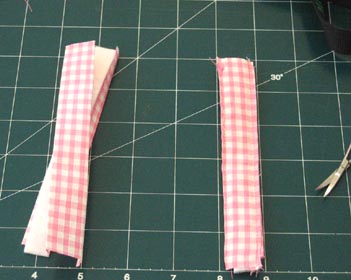
Sandwich the timtex between the two pieces of gingham and stitch each side of the handle |
| |
|
|
27 |
Slice the four handles onto the two handles. Do not cut the ends as yet, I always like to leave this part until I have machined stitched the handles to the bag |
| |
|
|
28 |
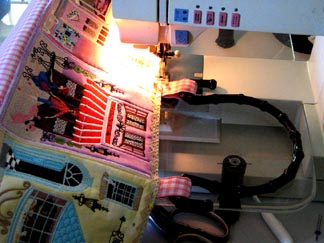
Stitch the handles onto the bag using your machine. Another good reason for using the lace, you do not see the stitches to sew the handles on. Cut the ends of the handles |
| |
|
|
29 |
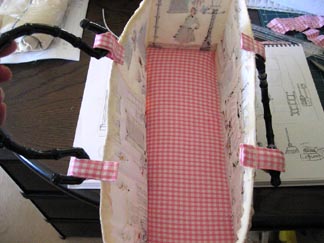
Inside the bag where you can see the base finished and the handles sewen on |
|
30 |
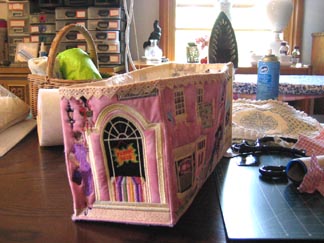
Finished. Now to do the lining of the bag |
| |
|
|
31 |
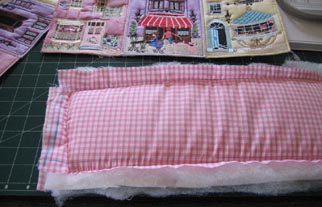
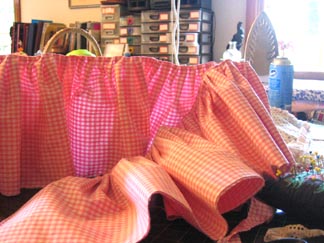
Measure the bag length and width I cut the pink ginghum three times the length of the bag and twice the width Press the width section over so you have double the fabric for the lining. I sat down and watched a picture while doing this part. I pleated by hand the top section. Beleive me I had finished pleating the lining before the picture had finished. Once I got started I was on a roll and I found it very relaxing. Must admit it was a long picture over 3 hours "The English Patient" It was a lovely picture needed a hankie at the end :) Sew over your hand stitched pleating using your machine or you could you a pretty decorative stitch to cover your hand stitching |
| |
|
|
32 |
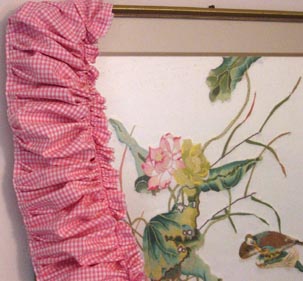
Gather the bottom section of the lining. As seen in the photograph opposite |
|
33 |
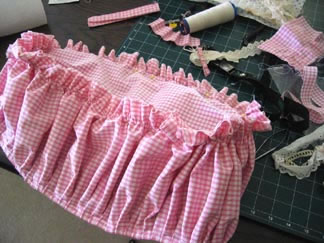
Measure once again the base of the bag. I always make the base for the lining to attach slightly larger than the bag base Stitch the lining to the lining base Cut away any excess fabric Stitch the lining to the top of the bag, once again the lace comes in handy as you cannot see the stitches Congratulations all finished !!!!! |
| |
|
|
33 |
|
|
34 |
|
|
35 |
|
| Photogaphs 34, 35 and 36 show you the finished lining of the bag | |

Machine Embroidery Designs
Latest Releases
Folklore Machine Embroidery Designs
Released on the 25th June 2019
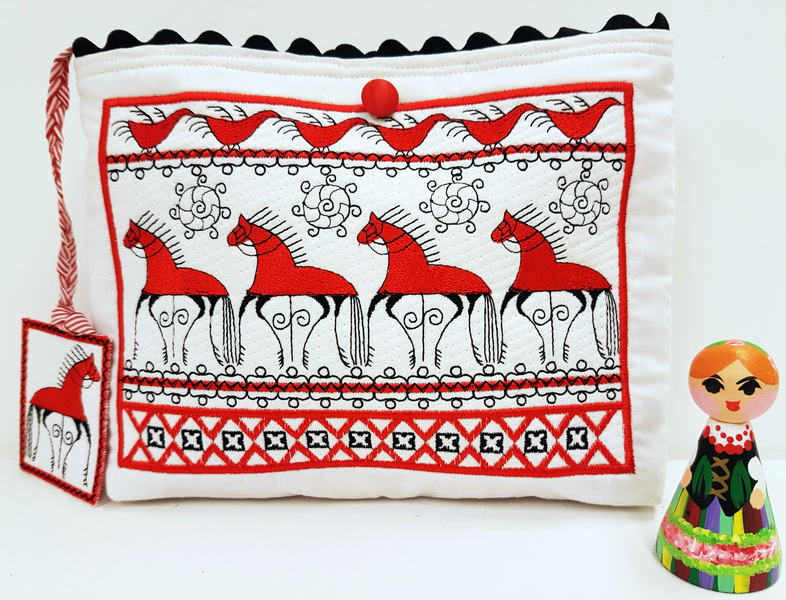
6 designs included in the Folklore machine embroidery design set.
The Folklore design is suitable for a 6 x 10 inch or 240mm x 150mm hoop.
The Folklore design is available in DST, EMB, EXP, HUS, JEF, PES, VIP, VP3 and XXX.
The colour chart is included in the design set
As I am now digitizing with Wilcom embroidery software (which is a commercial software) we are unable to convert files to ART format. Bernina embroidery machines will now need to purchase designs in EMB or EXP format. Sorry for the inconvenience.