| Tudor Bag | |
 |
|
|
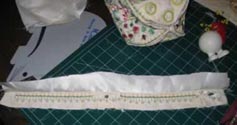
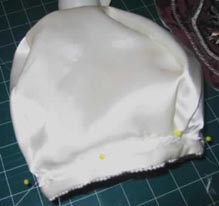
1 |
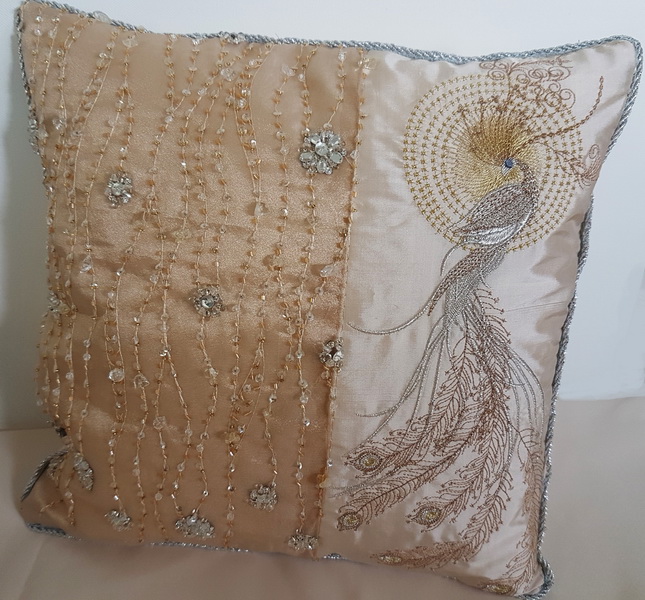
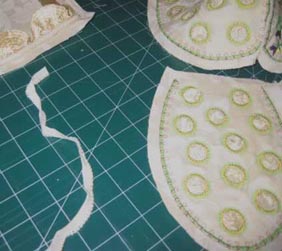
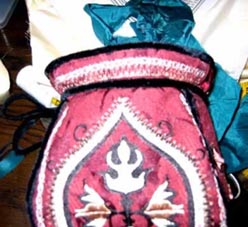
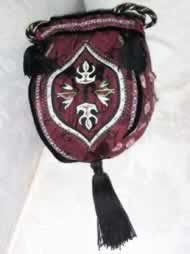
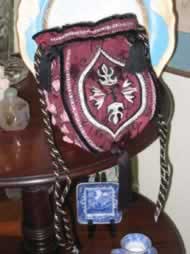
I stitched 2 panels of each Tudor12 and Tudor12a to make the Tudor bag. Refer to 16,17, 18 and 19 photographs for the instructions for putting the Tudor bag together
The above photo shows the type of pearl binding used on the bag. I stitched the pearl binding around Tudor12 panel. |
|
2 |
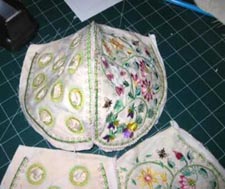
Tudor12 and Tudor12a panels stitched together
Many believe the colour's that were used in the Elizabethan I period were dull colour's, the reason for the dull colour's was due to fading of the fabrics and embroidery threads. The colour's used during the early period were very bright to the point of being garish, as the silk was being shipped from China through the trade routes not through the silk road, due to the Mongol invasions. Fine examples of the embroidery of that time is to look at photos of the stump work boxes that were produced by hand, not the out side of the boxes as the colour's have faded over time but the inside of the stump work boxes, there you will see the beautiful silk thread and the true colour's of the out side of the boxes |
| |
|
|
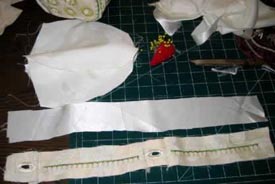
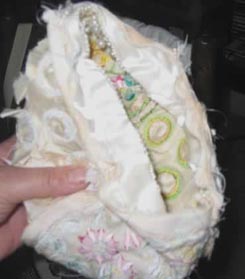
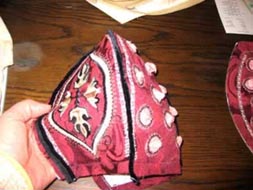
3 |
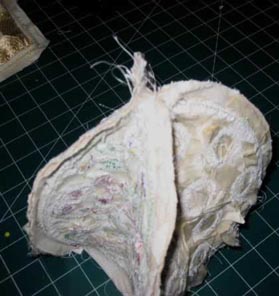
Combining all the Tudor bags panels together |
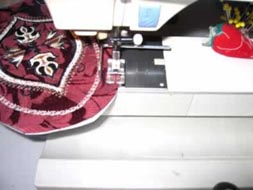
| |
|
|
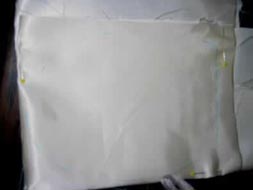
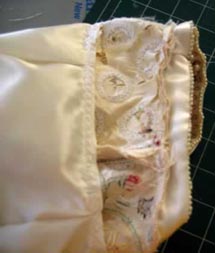
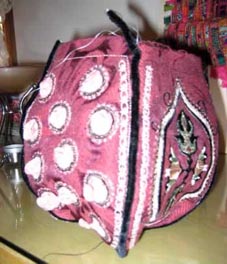
4 |
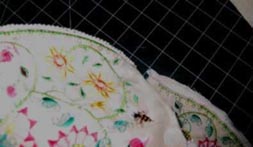
Completed stitched panels |
| |
|
|
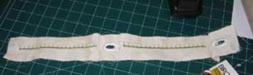
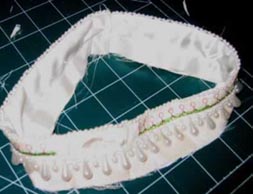
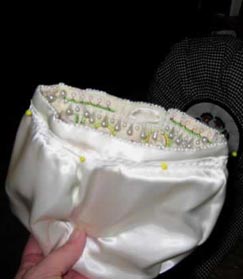
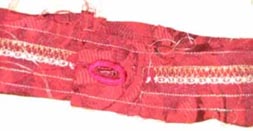
5 |
Close up of the pearl binding on the bag |
| |
|
|
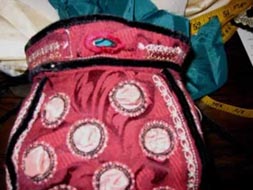
6 |
Combining Tudor12d for the strip to put the rope for the handles |
| |
|
|
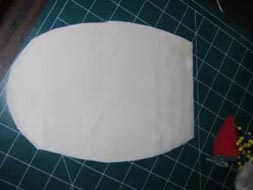
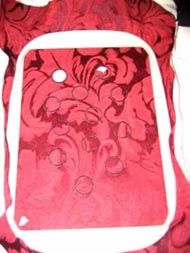
7 |
Template of panels for the lining of the bag |
| |
|
|
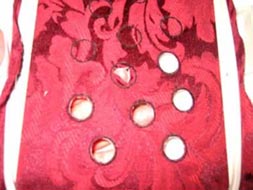
8 |
Cut out 4 panels for the lining |
| |
|
|
9 |
Cut out lining for the strip. I put a row of pearl binding at the top of the strip |
|
10 |
Stitch the lining and the strip together as shown in the photograph. Then fold the lining over and stitch a straight stitch under the decorative stitches, this is for the rope that you will be threading through at a later stage. I also decorated with drop pearls |
| |
|
|
11 |
This is how the strip should look before you stitch the strip to the bag |
| |
|
|
12 |
The strip stitched to the top of the bag |
| |
|
|
13 |
Iron over the raw edge of the lining and put a simple decorative stitch over the folded edge |
| |
|
|
14 |
Pin the strip to the lining |
| |
|
|
15 |
Stitch by hand the two lining together |
| |
|
|
16 |
Stitch Tudor02 (if you are making the floral bag use Tudor12a) Stitch all the circles out.
The machine will come to a stop for you to be able to take the hoop away from the machine |
| |
|
|
17 |
|
| |
|
|
18 |
Mark with your chalk or marking pen the seam allowance from the outer border |
| |
|
|
19 |
An easy way of marking your fabric for a seam allowance is to use the attachment as seen in the photograph to the left |
| |
|
|
20 |
On this bag I used a beautiful velvet binding |
| |
|
|
21 22 |
|
| |
|
|
23 |
As you can see in the photo number 24 I removed the extra strip off the bag as you can see in the photo above, I did not like it, it looked a bit strange. Never be frightened of using bold lining as that can add to the over all look of your work and can look very dramatic. |
| |
|
|
24 25 |
|
| |
|
|
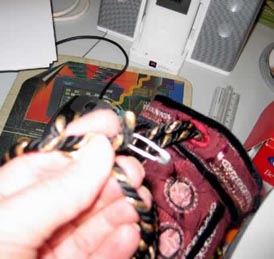
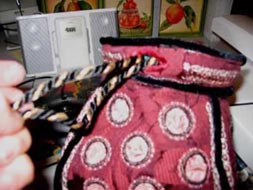
26 |
Pull the cord through starting at one of the holes in the strip and bringing the cord all the way around to where you started, bring the cord through. With the other hole in the strip do the same. |
| |
|
|
27 28 |
|
| |
|
|
29 30 |
|
| |
|
| Tudor Foot Stool | |
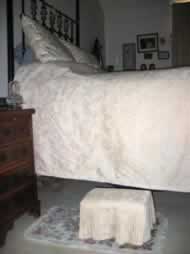 |
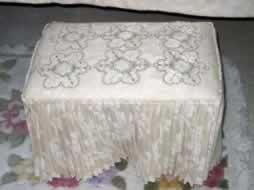
As you can see our bed is rather high that is the reason for the foot stool |
| |
|
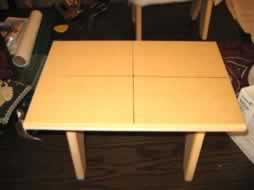 |
Purchase a foot stool from your local folk art shop. Mark the centre of the stool |
| |
|
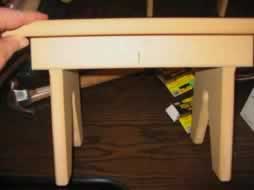 |
Mark the centre's to the sides of the foot stool |
 |
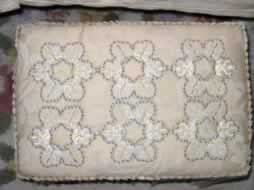
Mark the centre of your design and also the sides of the fabric with your designs on it
Spray glue to the wadding then place the wadding to the foot stool Match the fabric lines with the stool lines so you can get the exact centre Staple the wadding and fabric to the stool |
| |
|
 |
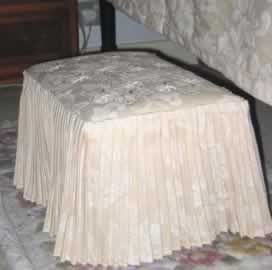
I purchased a few weeks ago a product from Punch with Judy I saw it at the Stitches and Craft show in Sydney. It is a pleat maker, you will now see a lot more of my work with pleats as I just love the finished look using this product, this was the first time I used the pleat maker and cannot believe how well the pleating turned out....If you are interested click on the URL below. I am not affiliated with this company at all, just love the pleater :) |
| |
|
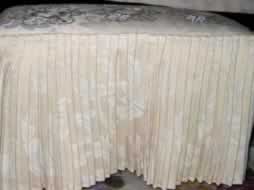 |
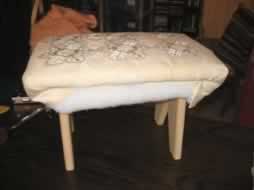
Before the pleating I made a hem top and bottom
I glued the pleated fabric to the stool. |
  |
|


Machine Embroidery Designs
Latest Releases
Folklore Machine Embroidery Designs
Released on the 25th June 2019
6 designs included in the Folklore machine embroidery design set.
The Folklore design is suitable for a 6 x 10 inch or 240mm x 150mm hoop.
The Folklore design is available in DST, EMB, EXP, HUS, JEF, PES, VIP, VP3 and XXX.
The colour chart is included in the design set
As I am now digitizing with Wilcom embroidery software (which is a commercial software) we are unable to convert files to ART format. Bernina embroidery machines will now need to purchase designs in EMB or EXP format. Sorry for the inconvenience.